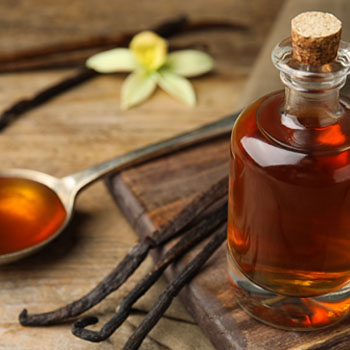
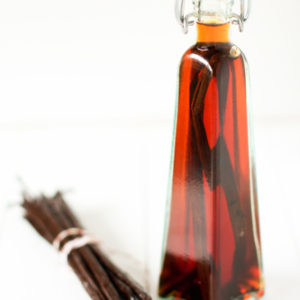
Have you ever wanted to learn how to make vanilla extract? Homemade Vanilla Extract is prized for its rich, complex flavor and incredibly smooth aroma. There simply is no substitute. Enhance your baking to a whole new level with either our ready-made Vanilla Extract Kits or even better, use this easy-to-follow homemade vanilla extract recipe that only needs a few simple ingredients.
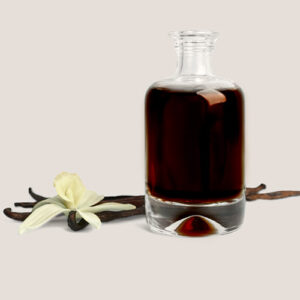
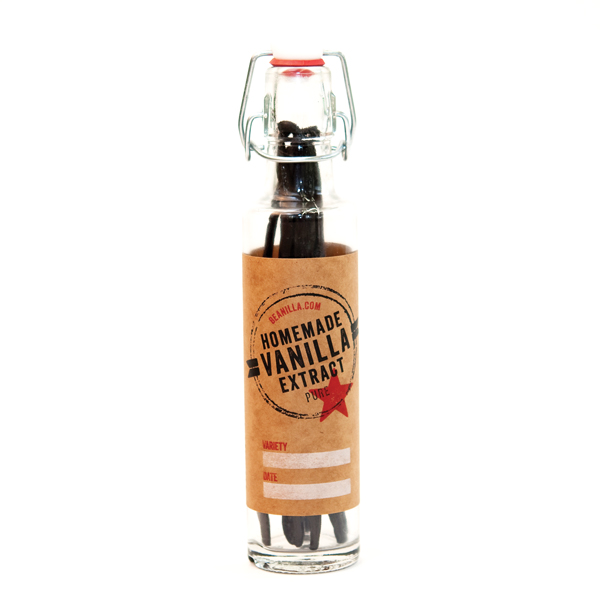
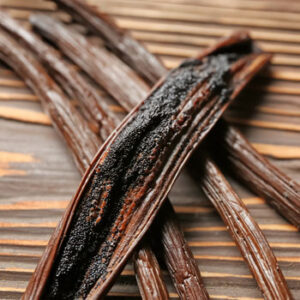
Many people are often familiar with clear or imitation vanilla extract. The difference between pure vanilla and imitation vanilla is simple; pure vanilla extract is made from whole vanilla beans extracted using 35%+ alcohol (ABV) - that's it! Don't be fooled by extracts that claim to be pure: imitation and clear vanilla utilize artificial flavors. Pure vanilla extract should be dark brown; the color of Vanilla Beans used in the extraction process.
Making vanilla extract is fun and simple! Here's all that you'll need:
Homemade Vanilla Extract
Beanilla
Homemade Vanilla Extract is prized for its rich, complex flavor and incredibly smooth aroma. There simply is no substitute. Enhance your baking with this easy to follow homemade vanilla extract recipe that only needs 2 simple ingredients.
1Bottle or Jar(a little bigger than 8 oz. for this recipe. Use larger/smaller as needed.)
8oz.Vodka (35%+ ABV)
6-8Vanilla Beans(1 oz. by weight is the goal. Actual number of beans may vary.)
Instructions
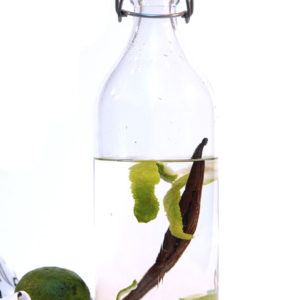
Slice each bean lengthwise and place in bottle. (If it helps to cut them into smaller, tootsie roll-sized pieces so they fit in the bottle better, go for it).
Pour one cup of vodka (or alcohol of your choice) into the bottle. Make sure the vanilla beans are completely submerged. No cheating now - the whole cup needs to go into the bottle! Seal bottle with lid or cap.
Shake once or twice a week.
Wait at least 8 weeks, but 4-6 months is ideal. The longer brewing time allows the flavor to fully develop.
Presto, your alcohol has turned into delicious homemade vanilla extract! Store at room tempertaure and out of direct sunlight, and you can enjoy this puppy til' the last drop!
Notes
The ratio of beans to alcohol is calculated based on the weight of the vanilla beans. The standard for pure vanilla extract is 1 oz. of vanilla beans (by weight) per 8 fl. oz. (1 cup) of alcohol.Vodka is most commonly used to make vanilla extract as it doesn't add additional flavor, but any 35%+ ABV/70+ PROOF liquor will work (you can experiment and find what you like - popular alternatives are bourbon or rum).When your extract is done brewing you can leave the beans in or you can remove them and strain the extract. If you remove the beans you can use them to make vanilla sugar!
What makes homemade vanilla extract so much better than "store bought"? First, you have control over the quality and type of vanilla used in the extract. Using premium grade vanilla beans will provide significantly better flavor and aroma than commercially produced extracts. Did you know that you can make vanilla extract from different types of vanilla beans? Each different vanilla variety will create a unique flavor!
Do you prefer bold and smokey? If so, try Ugandan vanilla beans. Traditional, rich and creamy? Use Madagascar Vanilla Beans! Floral aroma with a unique cherry-chocolate flavor? Venture to the Tahitian vanilla beans. You can even blend various varieties together! The floral, fruity, cherry like notes of the Tahitian variety blend wonderfully with the nutty-chocolate character of the Bourbon varieties.
After 8 weeks the vast majority of the extraction process is complete. At this point, the vanilla is ready to use and the vanilla beans can be removed. If the vanilla beans are left in the bottle, the flavor will continue to evolve just like a fine wine (just be sure the beans are always submerged in alcohol).
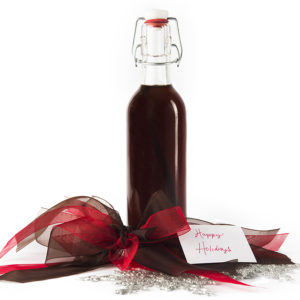
Whether you are a seasoned baker, procrastinating about making vanilla extract, or looking for the perfect holiday gift this year— then look no further! Check out our Homemade Vanilla Extract Kit.
Making vanilla extract is a fun, easy way to bring a favorite recipe to the next level. Whether you decide to try out our infusion kit first hand or give it as a gift this holiday season, we are sure you will agree that there is no substitute. You found your secret ingredient.
From all of us at Beanilla, we sincerely hope you enjoy our favorite all-time recipe.
Happy Extracting!
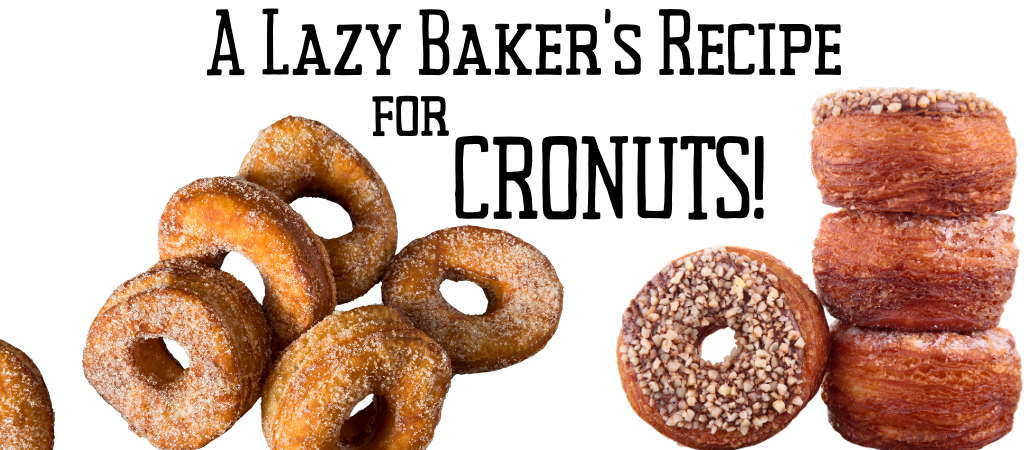
September 3rd is Skyscraper Day! To celebrate, we're honoring the city that invented skyscrapers and its favorite dessert. From the Empire State Building to One World Trade, New York has been a vertical trendsetter for over a century. And a dessert trendsetter as well. We’re pairing those towering concrete structures with an equally iconic treat that stacks the pastry game sky-high: the cronut.
Skyscraper Trivia to Impress Your Friends
New York was the birthplace of the modern skyscraper, with the city’s first steel-framed high-rise, the Home Insurance Building, going up in 1885.
The Empire State Building was built in 410 days—faster than most kitchen renovations.
The Chrysler Building’s spire was secretly assembled inside the building and hoisted into place overnight in 1929, stealing the title of tallest building.
One World Trade Center stands a symbolic 1,776 feet tall to commemorate America’s independence.
The MetLife Building has its own ZIP code (10166) because, well, it’s a skyscraper flex.
New York is home to over 300 skyscrapers and counting, making its skyline one of the most photographed in the world.
Meet the Cronut: NYC’s Favorite Dessert Export
In 2013, pastry chef Dominique Ansel invented the cronut—a buttery, flaky croissant-doughnut hybrid—and New Yorkers collectively lost their cool. People lined up at 4 a.m. outside Ansel’s Soho bakery, and the dessert became an instant global sensation. Scalpers resold cronuts for $100 a pop. Celebrities sent assistants to wait in line. News outlets went wild.
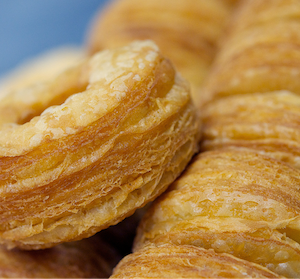
Like a skyscraper, the cronut is a marvel of engineering: flaky layers, deep-fried perfection, and a glossy glaze that catches the light like a glass tower at sunset...
DIY Cronut Tower: Stack your homemade cronuts into a dessert skyscraper. Points for dramatic presentation.
This Skyscraper Day, honor the ingenuity that made NYC the city of heights by building your own pastry masterpiece. Because if there’s one thing New Yorkers know, it’s that life tastes better with layers.
Avocado or Vegetable Oil for frying(oil with high smoke point)
Filling (Optional)Vanilla Pudding, Nutella, Biscoff, Jam
Other Topping OptionsIf you want other toppings besides glaze, try slathering them with nutella and topping with sprinkles, or covering them with cinnamon sugar. Mmmmm... The sky's the limit!
Instructions
Cronut
Fill large frying pan with about 2 inches of oil. Heat oil to 350º F over medium heat. Use a deep fry thermometer (even a meat thermometer can work) to check temperature. Try to maintain 350º. If necessary adjust burner temperature or remove pan from burner occasionally.
Carefully remove dough from pop-open can. Fold the dough in half lengthwise, then fold it in half again widthwise. Cut out circles from dough using glass/cutter of choice. You want them about 3".
Cut out smaller circles from the center of your 3" circles. These are your cronut holes and they should be about 1". (The round end of a pastry tip works well.)
After you have cut out as many 3" circles as you can, gather up all the scraps and smoosh them together. Roll them out and cut an additional cronut. Any additional scraps you can roll and cut into cronut holes.
Fry the cronuts for about 90 seconds on each side until golden brown. (Frying only a few at a time helps prevent a drop in the oil temperature.) Carefully remove from the oil and place on a plate covered with paper towels. Allow cronuts to cool before glazing.
Glaze
Mix powdered sugar (1-2 cups depending on desired sweetness and consistency), vanilla extract (1 tsp), and milk (1 TBSP). Add additional milk or powdered sugar as needed.
If adding an optional filling, cut a cooled cronut in half (like cutting a biscuit or a bun), fill with 2 TBSPs of your filling of choice.
Keyword croissant, cronut, dessert, donut, fried food, skyscraper day
Go Bananas: It’s National Banana Split Day!
Clear your calendars, cancel your kale smoothies, and grab a spoon—because August 25th is National Banana Split Day, and this holiday is not about moderation. It’s about bananas. And ice cream. And whipped cream. And cherries. Basically, it’s about happiness in a dish. The King of Sundaes invites you to join him for this special occasion!🍌🍨🎉
A Scoop of History (with Sprinkles) ✨
Back in 1904, a young apprentice pharmacist named David Strickler decided that life was too short for boring sundaes. So, he did what any genius would do—he cut a banana in half, shoved in three scoops of ice cream, and buried it under enough toppings to make your dentist cry.
It cost a whopping 10 cents at the time (double the price of a normal sundae), but people lined up anyway. Because who could say no to banana drama served in a boat-shaped dish? Not us.
And just like that, the banana split sailed into dessert legend.
The Classic Banana Split Recipe 🍒
Here’s how to celebrate the OG way:
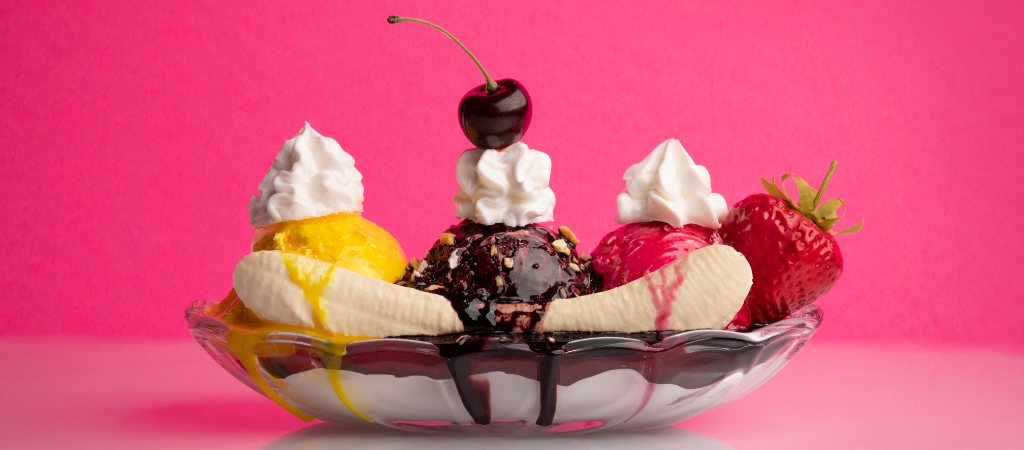
Classic Banana Split
The king of ice cream sundaes—a glorious tower of bananas, scoops of ice cream, whipped cream, chocolate drizzle, and a cherry on top.
Split personality: Slice that banana lengthwise and lay it down in your fanciest long dish (or, you know, whatever bowl you can find).
Scoop it: Vanilla, chocolate, strawberry—line ‘em up like ice cream royalty.
Get saucy: Chocolate on vanillaStrawberry on strawberryPineapple on chocolate(This was how David did it, but you can do your own thing, get creative!)
Crown it: Pile on the whipped cream like you’re building a tower to dessert heaven.
Bling it up: Sprinkle nuts, add cherries, and bask in the glory of your masterpiece.
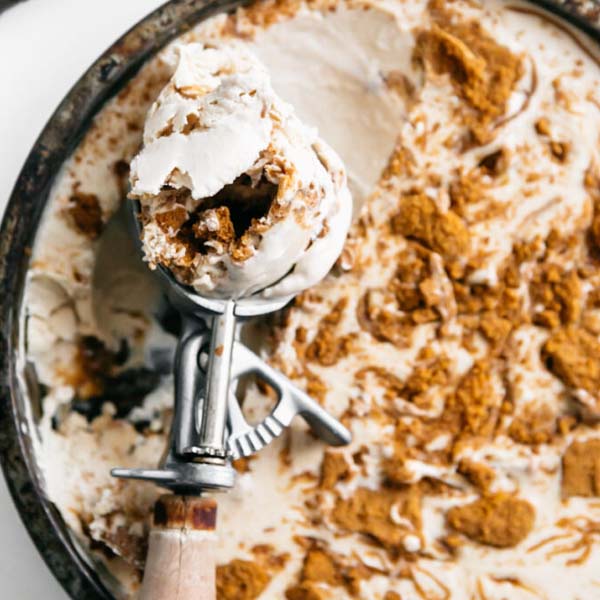
Feeling extra? Try these twists:Salted Caramel Swagger – Swap sauces for caramel drizzle and a pinch of sea salt.Nutella Nirvana – Because Nutella belongs everywhere, even here.Tropical Escape – Mango sorbet, coconut flakes, and a paper umbrella.Cookie Butter Bliss - Drizzle warm cookie butter over your scoops and scatter a few speculoos cookie crumbles on top. It’s like wrapping your sundae in a cinnamon-spiced blanket of deliciousness.
To make your own strawberry topping:Combine diced strawberries (1 pound) with granulated sugar (1/4 Cup) (try coconut sugar or date sugar for a healthier twist) and mix well. Cover bowl and refrigerate until you're ready to add it on top.
To make your own whipped cream:Place bowl of stand mixer (OR mixing bowl, preferably metal) in the freezer for 10 min. Remove from freezer and add:Heavy whipping cream (1 1/2 Cups)Powdered sugar (1/2 Cup)Vanilla extract (1 tsp)Using hand mixer or stand mixer, beat ingredients on low speed, gradually increasing speed to high and beat until cream reaches a thick, billowy consistency.So this August 25th, whether you’re building a banana split for yourself, your friends, or your alter ego who only comes out for dessert, remember:🍌 Life is short.🍦 Ice cream melts.🍒 Always take the cherry.
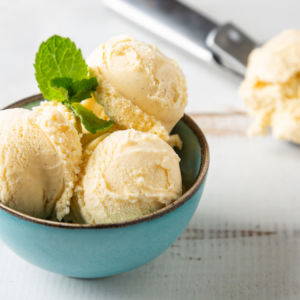
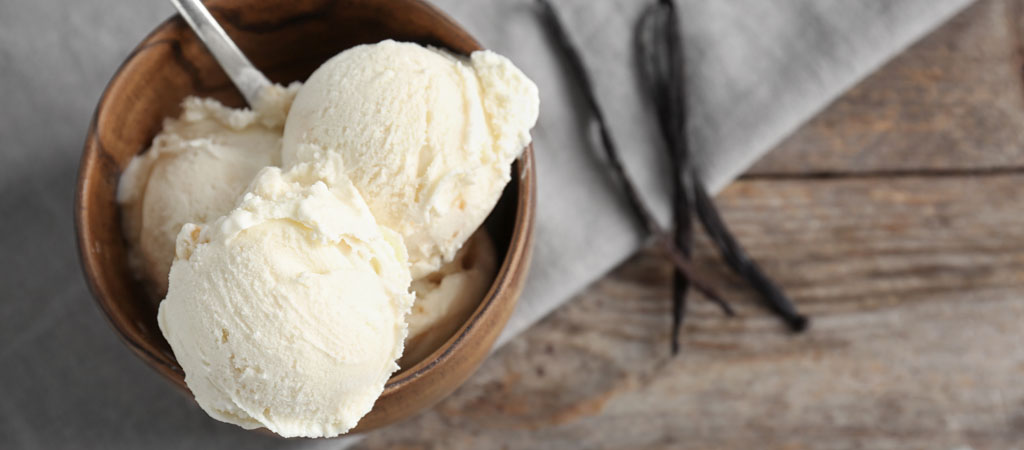
Frozen Vanilla Custard: The Creamiest Scoop of Summer
Ice cream may get all the glory, but if you’ve ever had a spoonful of frozen vanilla custard, you know it’s in a league of its own. Richer, creamier, and silkier than traditional ice cream, frozen custard is the kind of dessert that makes you stop mid-bite and think: where has this been all my life?
A Scoop of History
Frozen custard was first served in Coney Island, New York, in 1919, when brothers Archie and Elton Kohr added egg yolks to their ice cream recipe. The result? A dessert so smooth and velvety it drew crowds—and sold nearly 18,000 cones in just one weekend.
By the 1930s, frozen custard had spread through the Midwest, especially Wisconsin, which proudly claims itself as the Frozen Custard Capital of the World. Unlike traditional ice cream, which only requires cream and sugar, frozen custard must contain at least 1.4% egg yolk solids. That’s what gives it that trademark richness and slower melt.
Why You’ll Love Frozen Custard
Ultra-creamy texture thanks to egg yolks.
Less air churned in, meaning it’s denser than ice cream (more flavor, less fluff).
Classic nostalgia—one bite tastes like a summer carnival.
And while frozen custard shops are legendary, you can absolutely make it at home.
Frozen Vanilla Custard
Richer, creamier, and silkier than traditional ice cream, frozen custard is the kind of dessert that makes you stop mid-bite and think: where has this been all my life?
In a medium pot or saucier, add heavy cream (2 1/4 Cups), milk (1 Cup), salt (1/2 tsp). Slice vanilla bean down the middle with sharp paring knife, then carefully scrape out the caviar and place in pot.
Place the saucepan on low heat as you crack eggs. Trick for Egg Yolks: You want to be sure to use room-temperature eggs. A trick for separating egg yolks from whites is to crack all the eggs into a bowl and simply use your hand (I promise, just grab it) to remove the egg yolks. (Use egg whites to make Angel Food Cake.)
Place egg yolks in blender and set aside.
Continually whisk cream mixture and monitor temperature. Once it reaches 175º, you can use it to temper the eggs. (Tempering the eggs prevents them from curdling and ruining your custard's texture.)If temp starts to rise above 175º, lower temperature or remove from heat for a few moments. DO NOT let it boil or simmer.
To temper egg yolks, turn on blender (with egg yolks inside) on lowest setting. While blender is mixing on low, slowly drizzle 3 ladels full of 175º cream mixture.
Once you have tempered eggs, slowly drizzle blender mixture into pot and continue whisking. Adjust heat as necessary to keep around 175º while stirring constantly until mixture thickens. The thickness should be enough that if you stick a metal spoon in the pot and coat the spoon, you could swipe your finger across the spoon and the eges of the mixture where you swiped won't run. This should take about 15 minutes.
Take your thickened custard mixture and strain it through a fine-mesh strainer into a bowl.
If you want a soft-serve style frozen custard, then place your bowl in an ice bath and stir until it's completely cold. Then add to ice cream maker and follow directions for your particular ice cream maker.
If you want a hard frozen custard, allow custard to come to room temperature, then cover and place in fridge overnight. Then add to ice cream maker and follow directions for your particular ice cream maker.
Scoop out of ice cream maker and into ice cream container with good sealing lid and store upside down in the freezer. (I make the ice cream in the morning and let it freeze until it's time for dessert after dinner.)
Mark your calendars: August 22nd is Be An Angel Day—a holiday that basically gives you permission to be your best self and bake something heavenly. Kindness, good vibes, and dessert = heaven on earth.
The “angel” part is simple: do something nice. Hold the door. Call your mom. Compliment a stranger’s shoes. Surprise your neighbor with baked goods. Which brings us to the cake part: the one, the only… Angel Food Cake.
Light, fluffy, and cloudlike, it’s the dessert equivalent of floating on a marshmallow. Perfect for sharing, perfect for celebrating, and—bonus points—it’s so light and fluffy, you can eat two slices and still feel angelic.
So What’s Be An Angel Day Anyway?
Back in 1993, Rev. Jayne Howard Feldman created Be An Angel Day to encourage people to be kind, helpful, and thoughtful. And while angel wings aren’t included, baking a cake and handing someone a slice definitely counts. In fact, we’re pretty sure cake is a recognized love language.
A Little History of Angel Food Cake
Angel Food Cake first appeared in American cookbooks in the late 1800s, though food historians believe it likely originated earlier in the South, where cake flour (made from soft winter wheat) was common. Its claim to fame? Using whipped egg whites instead of butter, making it one of the first butterless cakes to rise to fame.
The result was so light, so airy, that it earned the nickname “food of the angels.” With its pure white crumb and halo-like golden crust, it became a staple for church socials, weddings, baptisms, and family gatherings.
Why the Tube Pan (and the Flip)?
Angel Food Cake isn’t baked in just any pan—it requires a tube pan. The tall sides and central tube give the delicate batter something to cling to as it rises, ensuring maximum fluff. And here’s the fun part: when it’s done baking, you flip it upside down in the pan until it cools.
Why? Because if you don’t, gravity will deflate your airy masterpiece faster than you can say “fallen angel.” Cooling it inverted keeps it tall, proud, and cloud-like—just as the dessert gods intended.
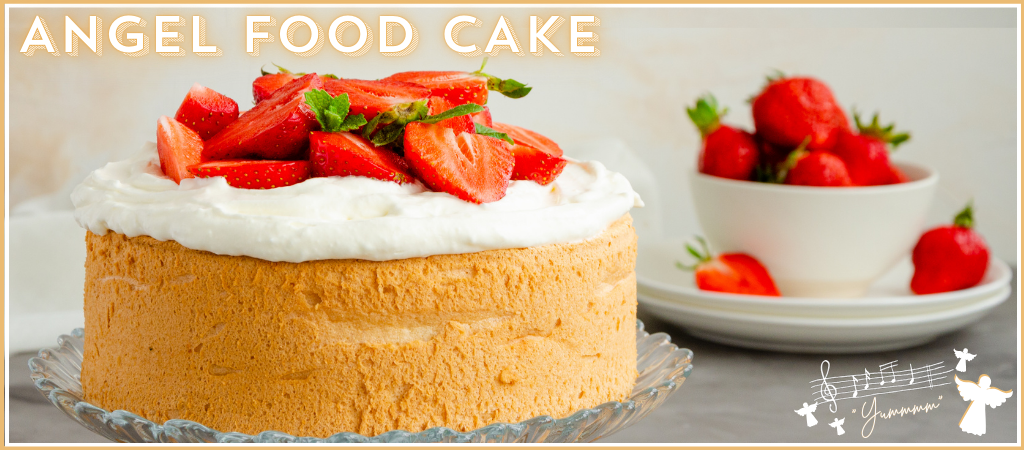
Angel Food Cake
A cake so light, airy, and delicious, it earned the nickname, food of the angels!
Preheat oven to 350°F (175°C). Place oven rack in the lowest position—this cake needs room to rise to heaven.
Pulse granulated sugar (1 Cup) in the food processor or blender until it is super fine (like you!)
Set aside half of the fine sugar.
Add cake flour (2/3 Cups) and salt (1/4 tsp) to food processor with remaining fine sugar. Pulse 5-10 times until mixture is well aerated and light.
Trick for Egg Whites:You want to be sure to use room-temperature eggs and not get ANY yolk in your egg-whites. A trick for separating egg yolks from whites is to crack all the eggs into a bowl and simply use your hand to remove the egg yolks. (Set aside 7 egg yolks and make vanilla bean frozen custard with them.)Add 9 egg whites to a large bowl or your stand mixer bowl. Use either a hand-mixer or your whisk attachment for your stand mixer.Whip egg whites, Cream of Tartar (1 tsp), and Vanilla Extract (1 tsp) together on medium-low until foamy, about 1 minute. (Add optional Almond Extract (1/4 tsp here if using.)Switch to medium-high and slowly add the fine sugar that you set aside. Whip until SOFT peaks form, about 5-6 minutes. (More like thick whipped cream than merengue.)
Remove bowl from stand mixer
GENTLY fold the sugar/flour/salt mixture by sifting it through a fine-mesh sifter a little bit at a time into the egg white mixture while gently folding it in with a rubber spatula. DO NOT OVERMIX and deflate the angelic fluff!
Spoon batter into an UNGREASED 10-inch TUBE pan. (Ungreased is key—the batter needs to grip the sides and climb like it’s ascending to dessert heaven.)
Bake on the bottom rack (it's tall!) 25–30 minutes, until golden and springy. (If your oven runs hot, check it at 20 min.)
Remove cake from oven and immediately flip pan upside down on a cooling rack and let cool completely upside down.
Let cool for at least an hour, then run a butter knife or thin spatula along the inside walls of the tube pan to gently release your angel cake from its tin halo. Let cake cool for another 30 minutes.
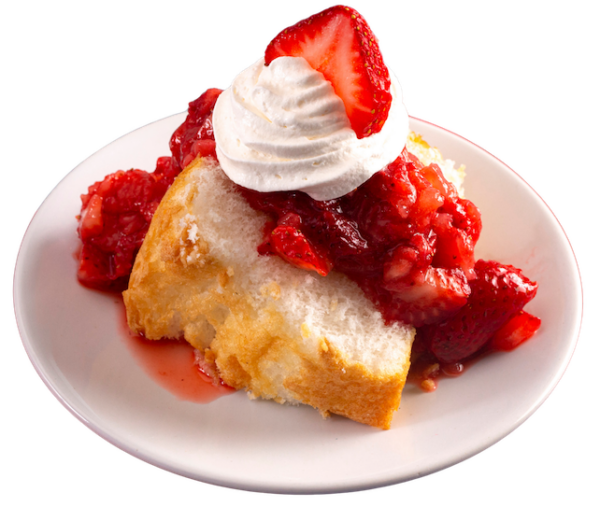
Optional - Strawberry and Whipped Cream Topping (Make Strawberry Topping Before Baking Cake!)
1 pound of fresh strawberries, washed, sliced, stems removed
1/4 granulated sugar
1 tsp vanilla extract
1/2 Cup powdered sugar
1 1/2 Cups heavy whipping cream
Make strawberry topping by combining sliced strawberries with granulated sugar, mixing well. Cover bowl and refrigerate while making cake.
Place bowl of stand mixer (OR mixing bowl, preferably metal) in the freezer for 10 min.
Remove from freezer and add:heavy whipping cream (1 1/2 Cups)powdered sugar (1/2 Cup)vanilla extract (1 tsp)
Using hand mixer or stand mixer, beat ingredients on low speed, gradually increasing speed to high and beat until cream reaches a thick, billowy consistency.
Top Angel Food Cake with a thick layer of whipped cream and strawberry topping (try to avoid any liquid, just strawberries, otherwise the cake will get soggy.)
Serve with leftover whipped cream and strawberries!
Other Serving SuggestionsKeep it classic with powdered sugar (aka edible fairy dust).Or drizzle chocolate sauce, because even angels like to misbehave sometimes.
Notes
Final Sprinkle of Joy
This Be An Angel Day, don’t overthink it. Do something nice, flash a smile, share a slice of cake. The world needs more kindness (and maybe a few more desserts).So go forth, be angelic, and remember: the fluffier the cake, the lighter your soul feels.
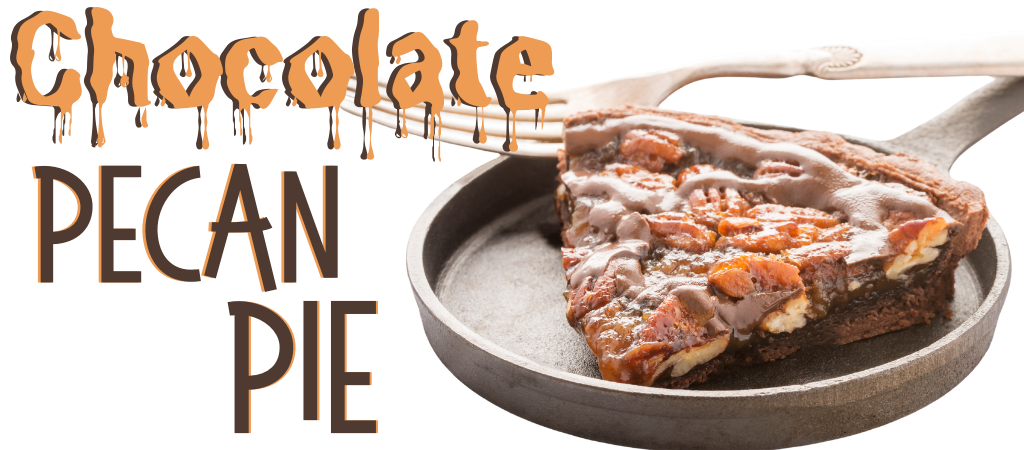
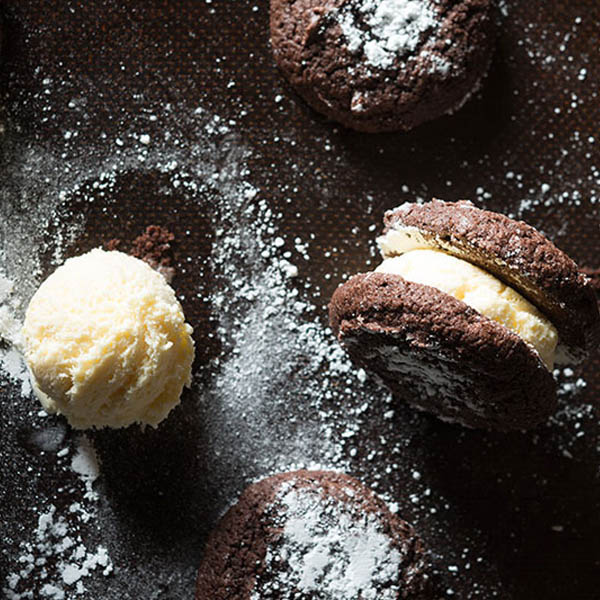
Celebrate Chocolate Pecan Pie Day with a Slice of Sweet History
Some desserts are so timeless, so comforting, that they deserve their own holiday—and lucky for us, Chocolate Pecan Pie Day is one of them. Celebrated every year on August 20th, it’s a day to honor one of the most decadent spins on a Southern classic.
A Little History of Pecan Pie
The pecan tree is native to North America, and Indigenous peoples were enjoying its buttery nuts long before Europeans arrived. The word pecan actually comes from the Algonquin language, meaning “a nut that requires a stone to crack.”
Fast forward to the late 1800s, and pecan pie began appearing in cookbooks. Some food historians trace the earliest recipes to Texas, where pecans grow abundantly. By the 1930s, pecan pie was a Southern holiday staple—thanks in part to corn syrup companies popularizing recipes on their labels.
Chocolate, however, wasn’t introduced to the pie until much later. It’s believed that inventive bakers in the mid-20th century decided to enrich the already sweet, gooey filling with melted chocolate. And really—who could blame them?
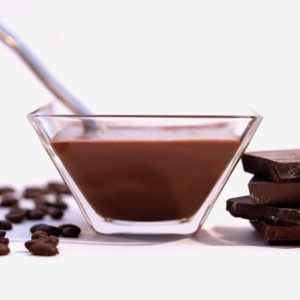
Today, chocolate pecan pie is a beloved variation that combines the caramel-like filling of the original with the richness of cocoa, creating a dessert that’s both comforting and indulgent.
Why Chocolate Pecan Pie is So Special
Classic pecan pie is sweet and nutty, but chocolate adds an extra layer of flavor that makes it taste like a cross between candy and pie. Like a giant pecan snickers bar… Mmmmm. The chocolate balances the sugary filling, creating a deeper, almost brownie-like richness under the crunch of toasted pecans.
It’s the kind of dessert that feels right at home at both casual potlucks and elegant dinner tables. And best of all? It’s simple enough for beginners but decadent enough to impress.
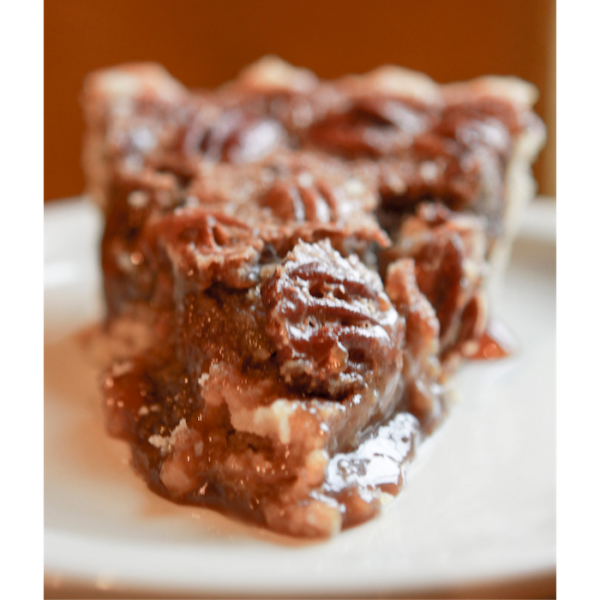
Chocolate Pecan Pie
Classic pecan pie is sweet and nutty, but chocolate adds an extra layer of flavor that makes it taste like a cross between candy and pie. Like a giant pecan snickers bar… Mmmmm.
In a small saucepan, melt the Butter (4 TBSP) and the chopped chocolate (3oz) over low heat until thoroughly melted. Stir constantly to prevent burning. Once melted, remove from heat.
In a small mixing bowl, whisk together the dry ingredients: Light brown sugar (1/2 Cup)Unsweetened Cocoa Powder (1 TBSP)Sea Salt (1/2 tsp)
In a small mixing bowl, whisk together the wet ingredients:3 eggs (lightly whisked)Light corn syrup (2/3 Cup)Pure Vanilla Extract (1 TBSP)
Pour wet ingredients into dry ingredients and whisk together.
Stir in the melted chocolate and pecans until combined.
Pour mixture into pie crust and tap pie pan gently on counter to pop air bubbles
Bake on center rack of oven for 60-70 min. (If your oven runs hot, check after 50 minutes.)
Cool on wire rack for at least 2 hours before serving. The pie is done when center reaches 200°F.
Notes
If you are using a prepared frozen pie crust, place JUST the cookie sheet in the oven and preheat oven as directed. Pour filling into frozen crust and place on preheated cookie sheet to bake. Tap center surface of pie lightly – it should spring back when done. If pie crust is over-browning, cover edges with foil.
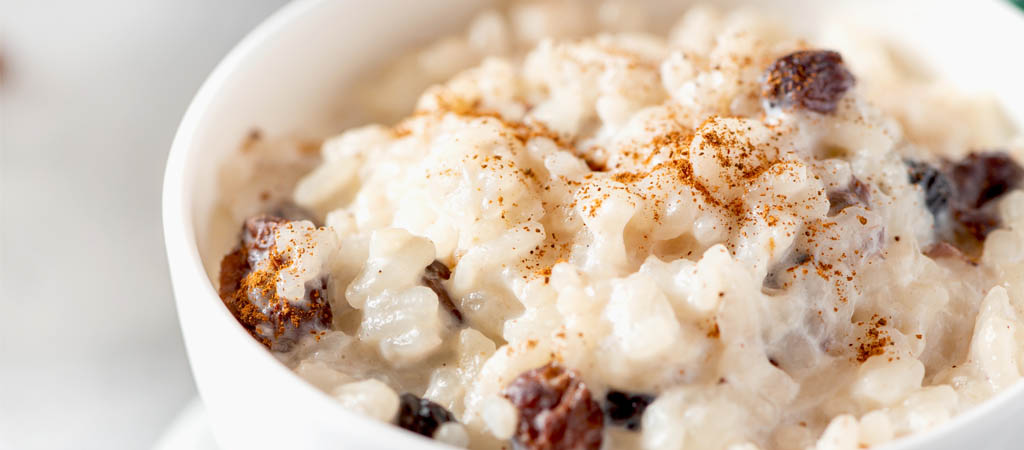
As Hispanic Heritage Month unfolds, it's the perfect time to delve into Hispanic culture through the lens of delectable desserts. From the warm, comforting notes of vanilla and cinnamon to the sweet symphony of caramel and chocolate, Hispanic desserts offer a sensory feast that transcends borders. In this celebration of flavors and traditions, we'll explore a few delightful dessert recipes that harmonize with the essence of Hispanic heritage.
A Tapestry of Flavors: Vanilla and Cinnamon
One common thread that binds many Hispanic desserts is the exquisite use of vanilla and cinnamon. These two ingredients have been an integral part of Hispanic culinary heritage for centuries, dating back to the early influences of indigenous and colonial cultures. Vanilla, introduced to Europe by Spanish conquistadors after their journeys to the Americas, infuses each creation with warmth and depth. Cinnamon, a spice with roots in Asia, made its way to many countries through trade routes and quickly became a staple in Hispanic dishes, providing a gentle, spicy kick that elevates the overall experience. Whether it's a flan gently flavored with vanilla or churros dusted with a cinnamon-sugar embrace, these ingredients symbolize not only the essence of Hispanic culinary heritage but also the historic fusion of diverse cultures that has shaped it.
An Invitation to Explore
In the spirit of celebration, we invite you to embark on a culinary journey through Hispanic desserts. Try your hand at these recipes, each one telling a unique story of tradition and creativity. As you savor each bite, you'll not only enjoy a delicious treat but also gain a deeper appreciation for the diverse cultures and customs that contribute to the beautiful mosaic of Hispanic heritage. So, let's come together and explore these delightful flavors as we honor Hispanic Heritage Month, one sweet bite at a time.
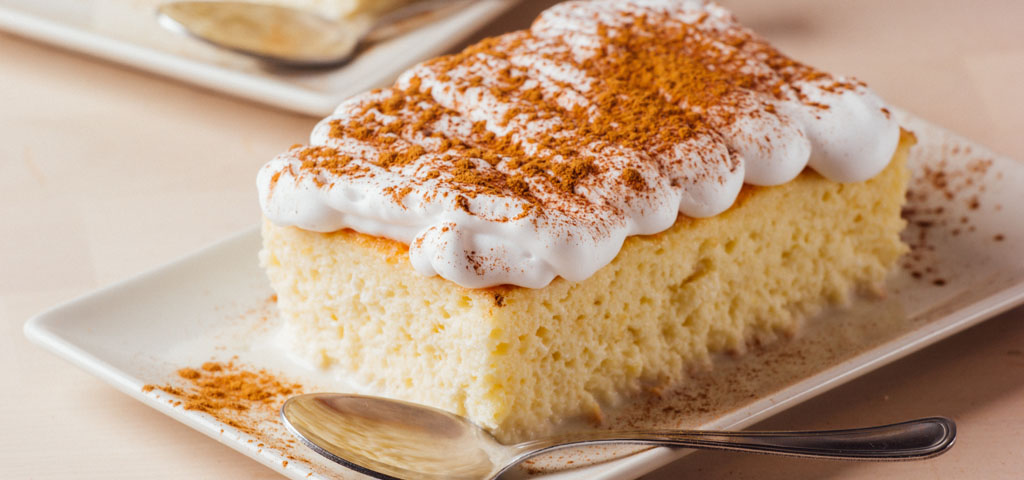
Tres Leches Cake
From: Isabel Eats
Enjoy a moist sponge cake soaked in a blend of three milks, offering a creamy and satisfying dessert experience.
Welcome to a jam-packed adventure through the delightful world of homemade jams! If you're a vanilla enthusiast, prepare to elevate your breakfast experience to new heights with our exquisite selection of vanilla-infused fruit jams. We've put together a collection of recipes that harnesses the enchanting power of vanilla to add a touch of magic to your mornings.
Vanilla, with its warm and comforting essence, possesses the incredible ability to elevate ordinary jams into something extraordinary. Whether generously spread on toast or paired with a buttery biscuit, these vanilla-infused creations will set your taste buds dancing with delight. From timeless classics like strawberry, blueberry, and peach to more adventurous options such as rhubarb-lemon, pear, and pineapple, you will find a diverse range of flavors that caters to all your cravings.
Indulge in these vanilla-infused jams for a breakfast experience that seamlessly blends scrumptiousness with sophistication. With every spoonful, you'll embark on a journey of taste that promises to enchant your senses and make your mornings truly special.
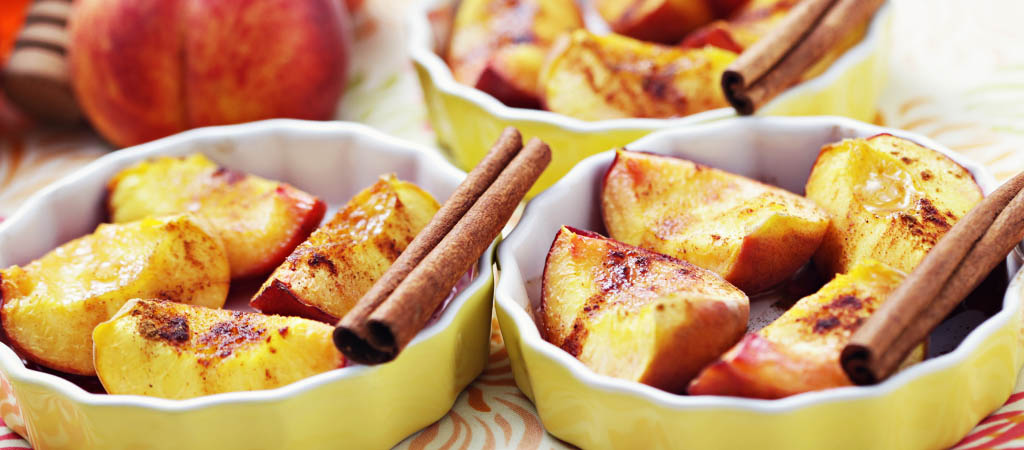
As the warm rays of the sun grace our days and flowers bloom in vibrant colors, it's the perfect time to savor the sweet delights of summer. This season brings with it an abundance of fresh and juicy fruits, and what better way to celebrate them than by adding a touch of cinnamon to create unforgettable summer treats.
The marriage of fruits and cinnamon is a culinary symphony that strikes a harmonious balance between sweetness and spice. This delightful pairing has a magical way of elevating the natural flavors of fruits, creating a chorus of taste sensations that dance on your palate. From the succulent juiciness of ripe peaches to the burst of tartness in blueberries, each fruit plays a different note, beautifully complemented by the warm and comforting tones of cinnamon.
Whether you're hosting a laid-back backyard gathering, cooling off by the poolside, or enjoying a picnic at the park, our collection of fruity cinnamon recipes will transport you to a tropical paradise, filling your senses with the essence of summer. So, let the warmth of cinnamon embrace the sweetness of summer, and embark on a culinary journey that captures the spirit of this beautiful season.
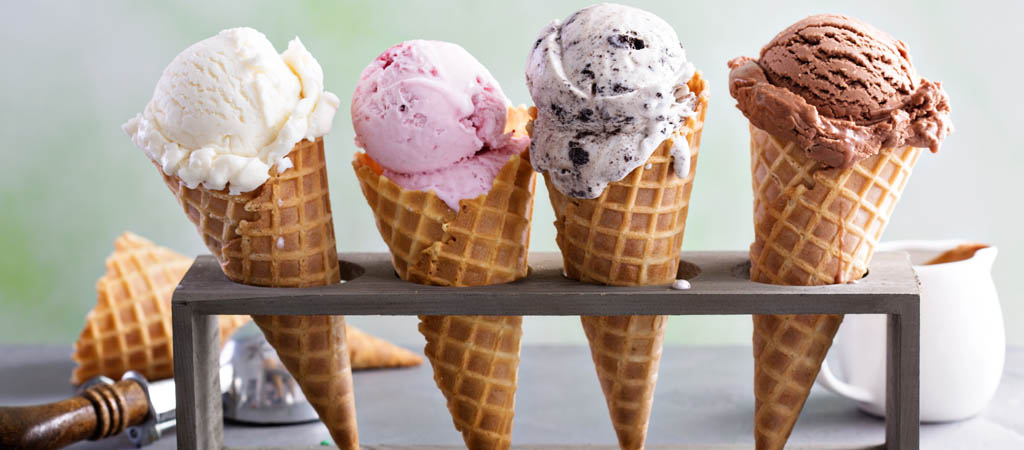
Summer is here, and what better way to beat the heat than with a delightful scoop of homemade ice cream? We're thrilled to introduce our fantastic collection of cool, creamy creations that'll take your taste buds on a sunny vacation. From timeless classics to inventive treats, this lineup has something for every ice cream lover to indulge in.
Few things are as satisfying as savoring a spoonful of creamy, homemade ice cream. Whether you're a seasoned ice cream enthusiast or a curious novice, making your own ice cream at home is an enjoyable and rewarding experience. Coming off national ice cream day and this week being what we are deeming ‘ice cream week’, we wanted to share some insight into crafting delectable frozen treats right in your kitchen. In this comprehensive post, we'll answer some frequently asked questions and provide valuable insights into the world of homemade ice cream. So, dust off that ice cream maker and get ready to embark on a delightful journey of flavors and creativity!
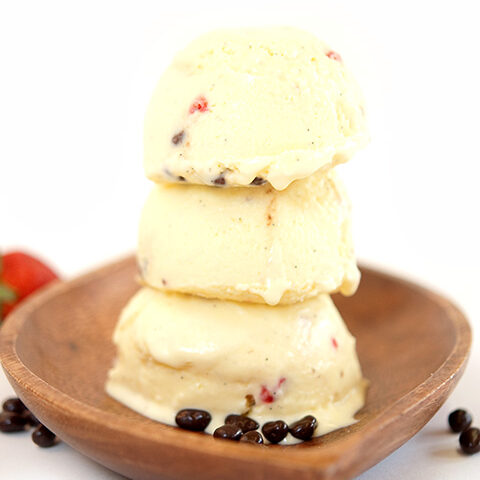
1. Types of Vanilla Ice Cream: Vanilla, Vanilla Bean, and French Vanilla
Vanilla ice cream, despite its seemingly simple flavor, comes in various forms, each with its own unique characteristics. Let's uncover the differences among three popular variations: vanilla, vanilla bean, and French vanilla.
Vanilla Ice Cream:
The timeless classic that needs no introduction. Vanilla ice cream is traditionally flavored with pure vanilla extract, delivering a delicate and familiar taste loved by many.
Vanilla Bean Ice Cream:
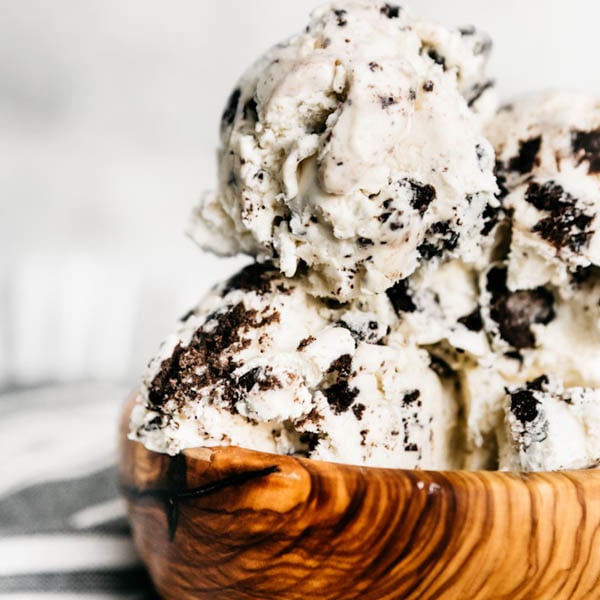
This variation takes the classic vanilla ice cream to the next level. Instead of relying solely on vanilla extract, vanilla bean ice cream incorporates real vanilla pods. The tiny dark flecks you see in this ice cream come from the seeds inside the vanilla pods. While these flecks do not significantly impact the flavor, they add an aesthetic charm, making each scoop a visual delight.
French Vanilla Ice Cream:
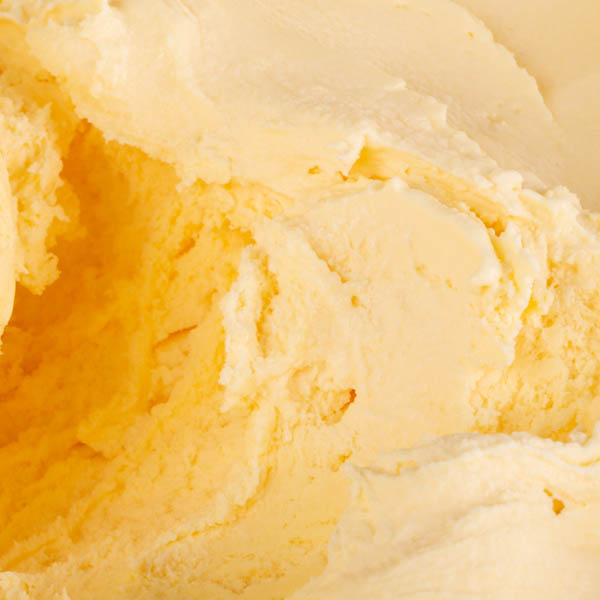
French vanilla ice cream is often misunderstood as a distinct type of vanilla. In reality, "French" in this context refers to a specific ice cream preparation method. French vanilla ice cream is made by infusing a custard base with egg yolks, resulting in a rich and velvety texture. The addition of egg yolks adds depth and complexity to the flavor profile, creating a luxurious ice cream experience.
2. Churn vs. No-Churn Ice Cream
When it comes to making homemade ice cream, you have two primary methods at your disposal: no-churn and churn ice cream.
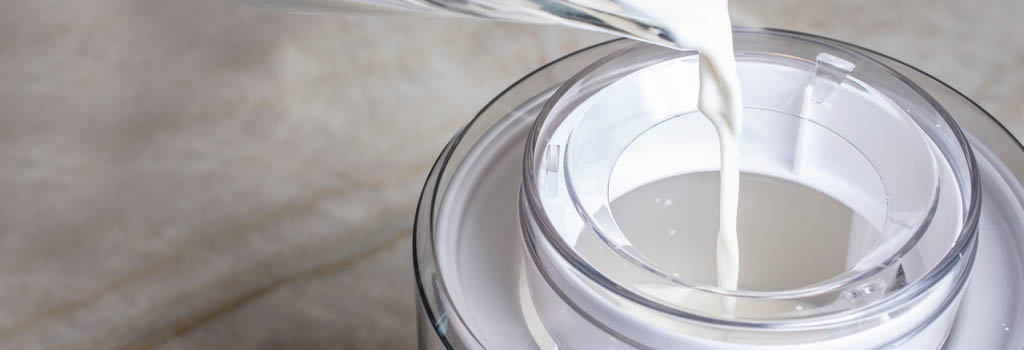
Churn Ice Cream:
- Requires an ice cream maker, either electric or hand-cranked.
- The ice cream base is churned while it freezes, incorporating air and resulting in a smoother texture.
- Churning promotes the formation of small ice crystals, giving churned ice cream its classic creamy consistency.
- Best suited for those who are dedicated to making ice cream regularly and are willing to invest in an ice cream maker.
No-Churn Ice Cream:
- No-churn ice cream doesn't require an ice cream maker; a regular freezer is sufficient.
- The base is typically made by whipping cream and combining it with sweetened condensed milk, along with desired flavorings and mix-ins.
- The whipping process introduces air into the mixture, yielding a light and creamy texture.
- No-churn ice cream recipes are often simpler and quicker to prepare, making them accessible to beginners or those without specialized equipment.
- Yields a slightly different texture compared to churned ice cream, but still incredibly delicious.
Both methods have their advantages, and the choice between churn and no-churn ice cream depends on your preferences, available equipment, and the level of convenience you seek.
3. Custard: The Role of Eggs
The distinction between custard and non-custard ice cream lies in the inclusion of eggs in the base mixture.
Custard Ice Cream:
- Custard ice cream, also known as French-style ice cream, incorporates egg yolks into the base.
- The addition of egg yolks contributes to a luscious and velvety texture.
- The eggs act as natural emulsifiers, creating a smooth and creamy consistency.
- Making custard ice cream involves cooking the mixture and carefully tempering the eggs to achieve the desired texture.
Non-Custard Ice Cream:
- Non-custard ice cream recipes skip the use of eggs in the base.
- The primary ingredients typically include cream, milk, sugar, and flavorings.
- Non-custard ice creams are simpler to prepare and generally have a lighter texture.
- While they may not possess the richness of custard ice cream, non-custard variations still offer delicious and refreshing frozen treats.
4. Thickening Agents: Achieving the Perfect Texture
Thickening agents play a crucial role in ice cream making, ensuring a smooth and creamy consistency. Here are some common options:
Egg Yolks: The most traditional thickening agent, egg yolks contain natural proteins and fats that contribute to a rich and luxurious texture in custard-based ice creams.
Cornstarch: Often used in non-custard ice creams, cornstarch mixed with milk helps thicken the base and create a smooth mouthfeel.
Gelatin: Adding a small amount of gelatin to the ice cream mixture improves texture by reducing ice crystal formation and creating a smoother consistency.
Tapioca Starch: Similar to cornstarch, tapioca starch can be used as a thickening agent to achieve a creamy texture in non-custard ice creams.
Junket Tablets: Junket tablets, made with rennet, can also serve as a thickening agent for certain ice cream recipes. They add a unique texture to the ice cream base and are particularly popular in traditional homemade ice cream preparations.
Experimenting with different thickening agents allows you to tailor the texture and consistency of your ice cream to your preference.
Embarking on the journey of homemade ice cream making opens up a world of flavors and creativity. Whether you're captivated by the nuances of different vanilla variations, exploring the convenience of no-churn recipes, or savoring the indulgence of custard-based ice creams, there's something for everyone. Adding thickening agents, such as egg yolks, cornstarch, gelatin, tapioca starch, or even Junket tablets, enhances the texture and elevates the overall ice cream experience.
Remember, making homemade ice cream is as much an art as it is a science. Allow your taste buds to guide you, experiment with flavors, and don't be afraid to put your spin on classic recipes. So, roll up your sleeves, gather your ingredients, and embark on the delightful adventure of crafting your own frozen delights. Happy scooping and savor every creamy spoonful!
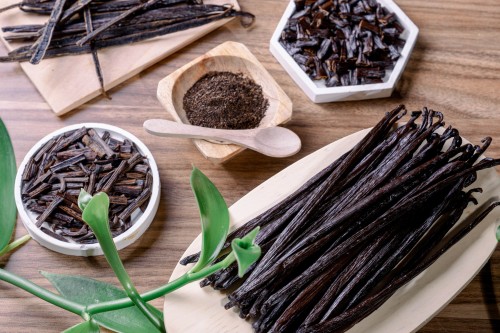
Vanilla beans are the ultimate flavor enhancer. Their aromatic, sweet, and complex flavors are unmatched, and they are used in a wide range of dishes and desserts. However, when it comes to using vanilla beans there's a lot more to consider than just their rich, sweet flavor. If you are unfamiliar with the world of vanilla, you may be surprised to learn there are actually two main grades of vanilla beans that are commonly used in culinary applications: grade A and grade B. While both types of beans have their own unique characteristics and uses, it can be confusing to know what the grades mean and when to use each bean. Let's take a closer look at what sets grade A and grade B vanilla beans apart, and how you can choose the best option for your needs.
Appearance and Moisture Content
The appearance and moisture content of vanilla beans are the primary factors that determine their grade. Grade A vanilla beans are longer, plumper, and have a higher moisture content than grade B vanilla beans. They also have a shiny, oily exterior, and are free of any blemishes or defects. Grade B vanilla beans, on the other hand, are shorter, thinner, and have a lower moisture content. They have a duller exterior and may have some blemishes or defects (like splits and cracks).
When to Use Each Grade of Vanilla Bean
While moisture and appearance are key to determining the grade of each bean, your intended use of the vanilla beans is helpful in deciding which bean grade is best to use. Grade A vanilla beans are considered ‘gourmet-grade beans’, and they are primarily used in dishes where the flavor and appearance of the beans are the main focus. They are preferred by professional pastry chefs and bakers for use in high-end desserts, such as crème brûlée, panna cotta, and vanilla ice cream. Many vanilla connoisseurs also prefer them for their homemade vanilla products like vanilla extract and vanilla sugar.
Grade B vanilla beans, on the other hand, are considered ‘extract-grade beans’, and they are primarily used in making vanilla extract. They are also used in baking and cooking, but they are not recommended for high-end desserts or dishes where the vanilla flavor and appearance are the main focus. However, some chefs and bakers prefer grade B vanilla beans for use in desserts where the flavor of the vanilla is not the star, such as in chocolate desserts or savory dishes.
Whether you choose grade A or grade B vanilla beans, you can be confident that you are getting an excellent ingredient that will add depth and complexity to your culinary creations. While there are some differences between the two grades in terms of appearance, moisture content, and intended use, both types of beans are versatile and can be used in a wide range of dishes and desserts. Whether you're a professional chef or a home cook, experimenting with different grades of vanilla beans can help you discover new flavors and elevate your cooking to the next level. So go ahead and try both grades of vanilla beans and see which one works best for you!
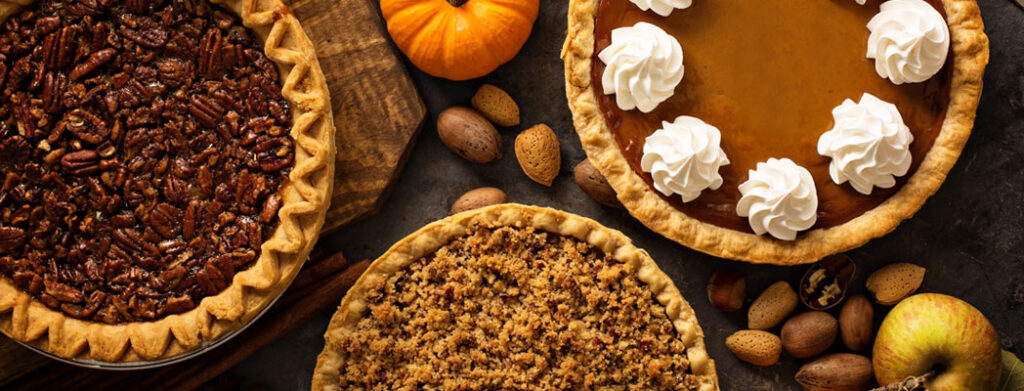
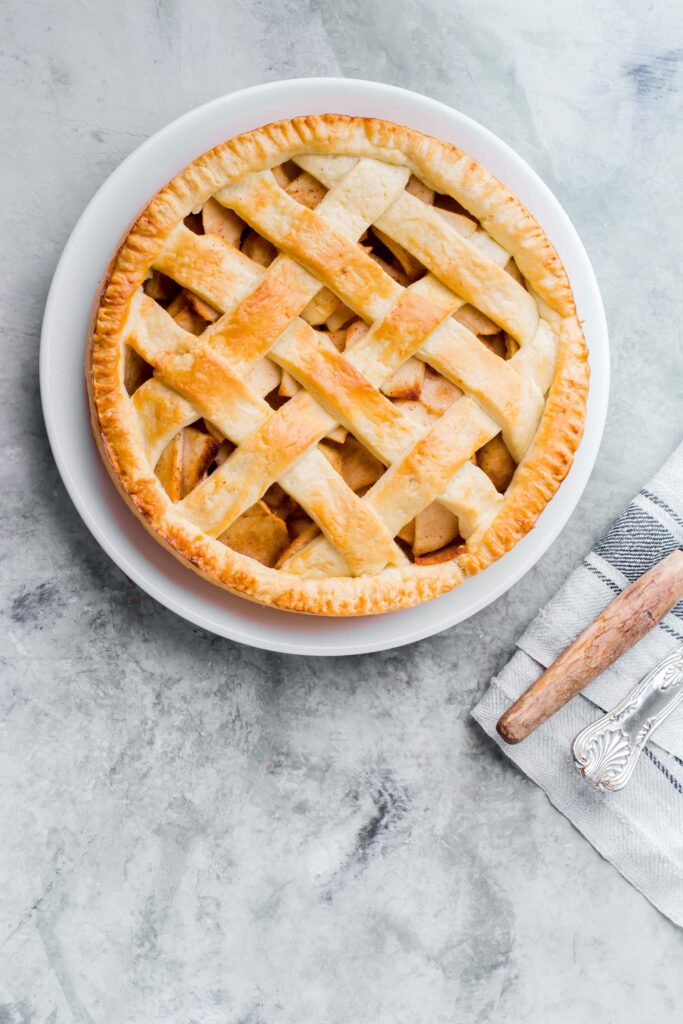
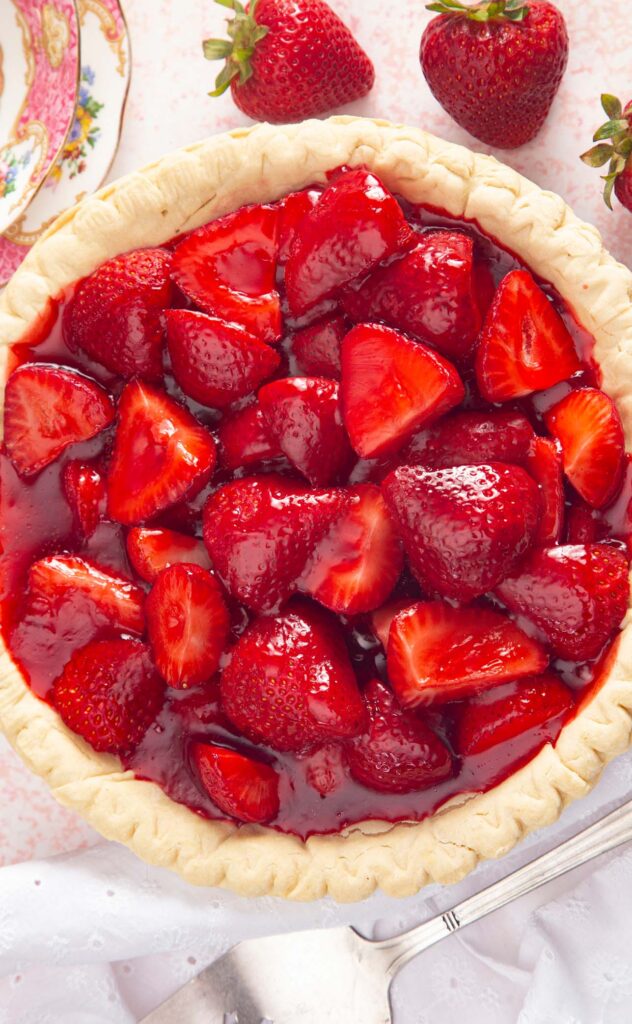
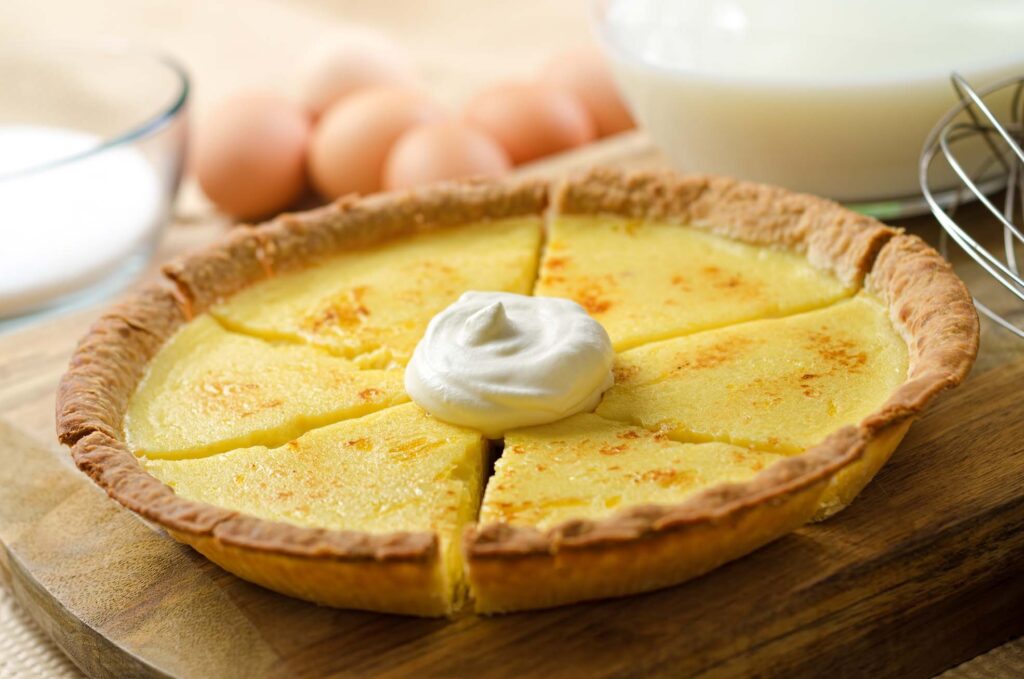
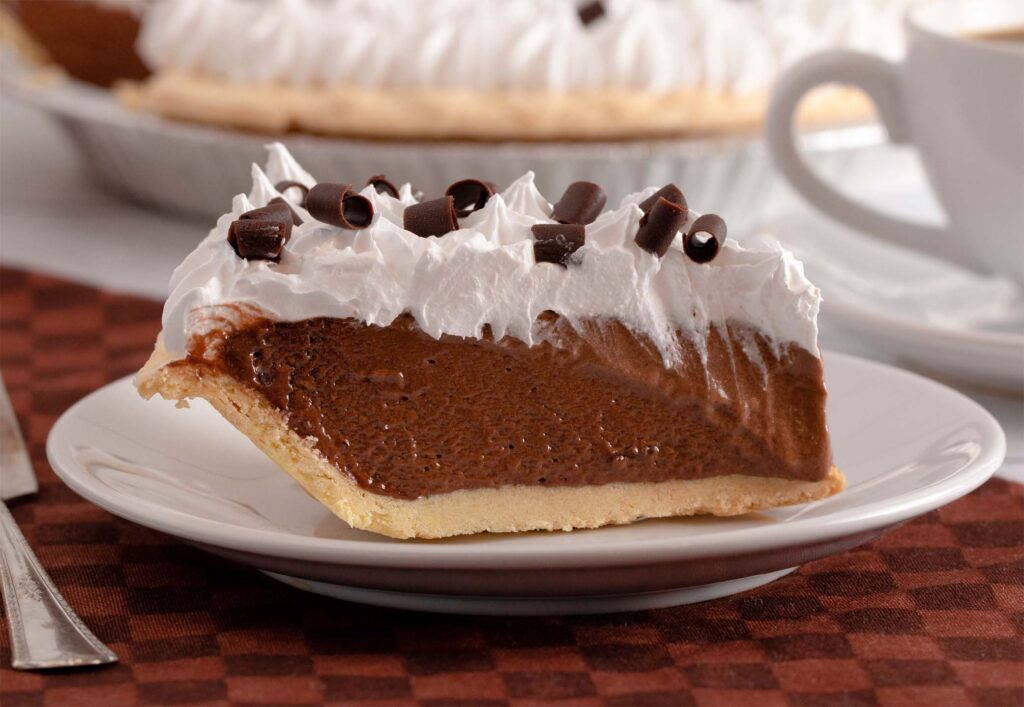
With more than 60 pie recipes to choose from, this Thanksgiving pie collection has more than enough options to make sure dessert will be a success. Whether you want a traditional pumpkin, apple, or pecan pie, or you want to try something new (like salted caramel dark chocolate pie or bourbon drizzled apple pie), there is a recipe for you! Choose a pie category below or browse the full list to see all the delicious options.
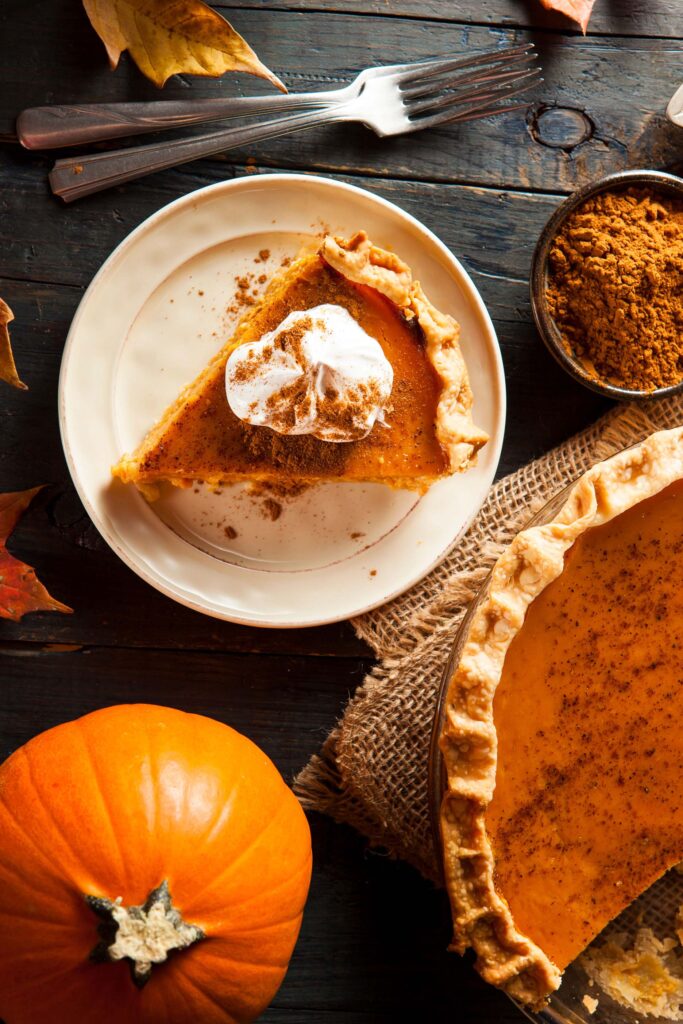
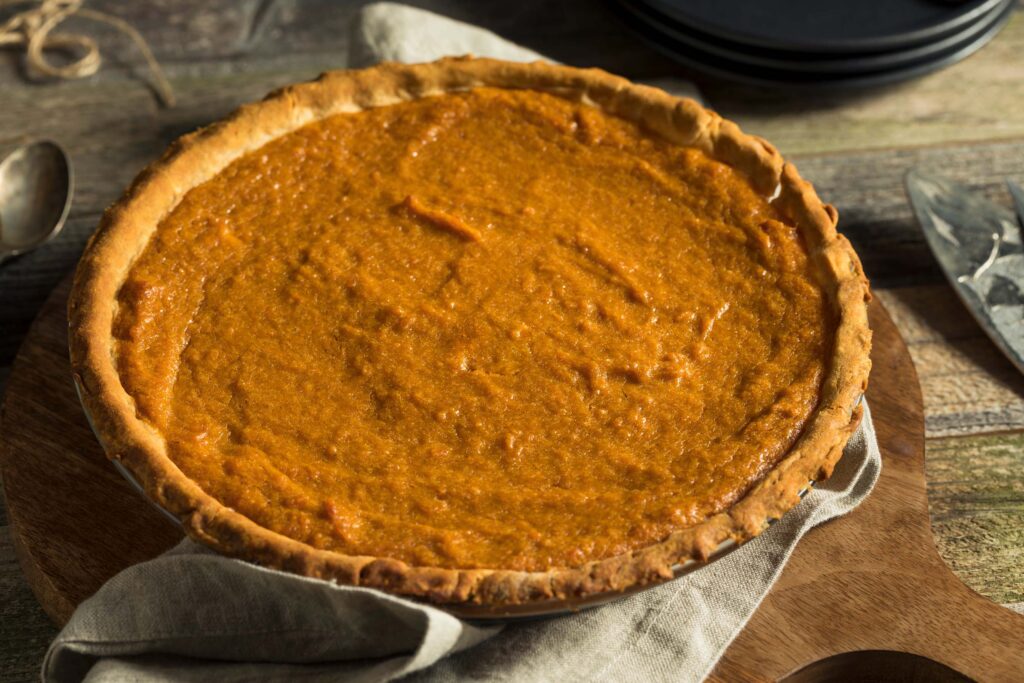
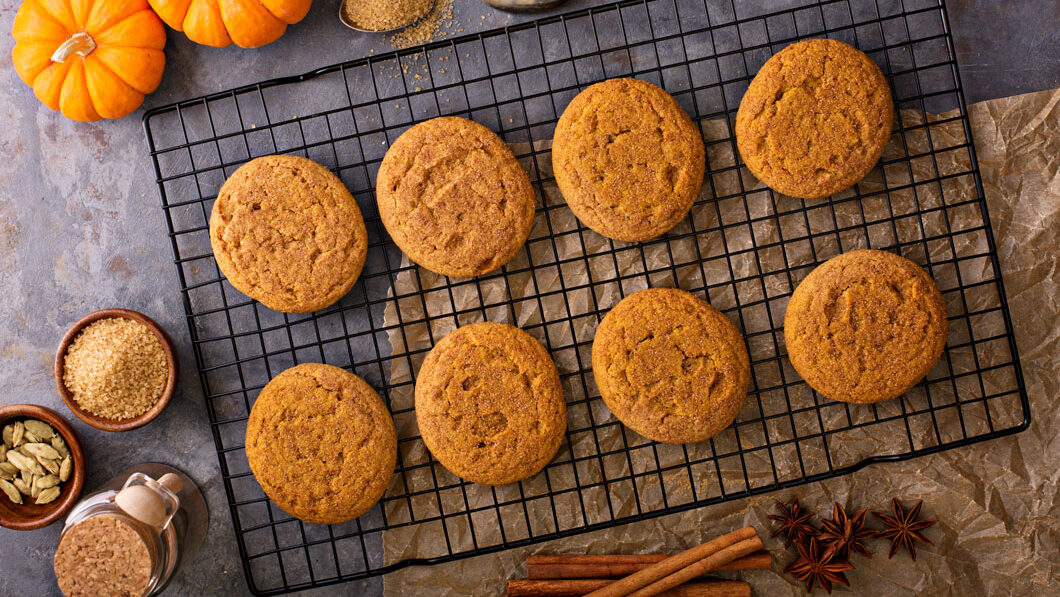
Pumpkin spice isn't just for lattes anymore! With the weather finally starting to cool off, we're excited to fully embrace our favorite time of year. No, not fall; we're talking about baking season! Few things are better than spending time around a warm oven, whipping up some cookies, cakes, and other delectable desserts to share with your family and friends. Of course, another thing that's on everyone's mind this time of year is pumpkin spice. This simple blend of spices was originally intended to be used in making pumpkin pies, but we find that it makes the perfect addition to all manner of tasty treats. To help share the love, we've gathered recipes for some festive pumpkin spice desserts from around the web.
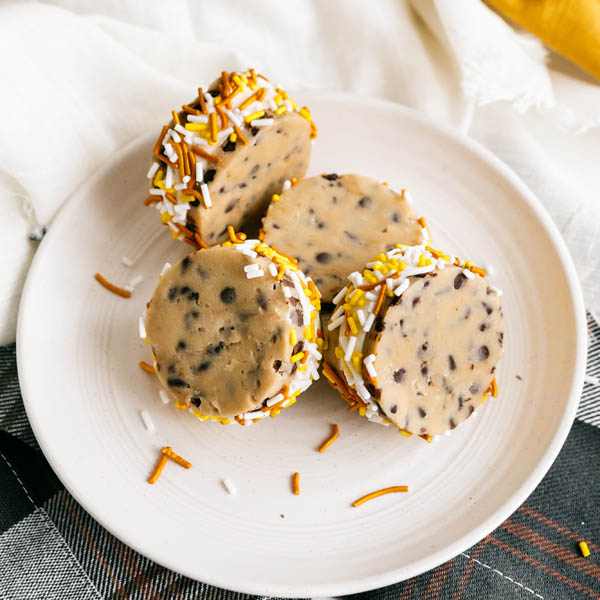
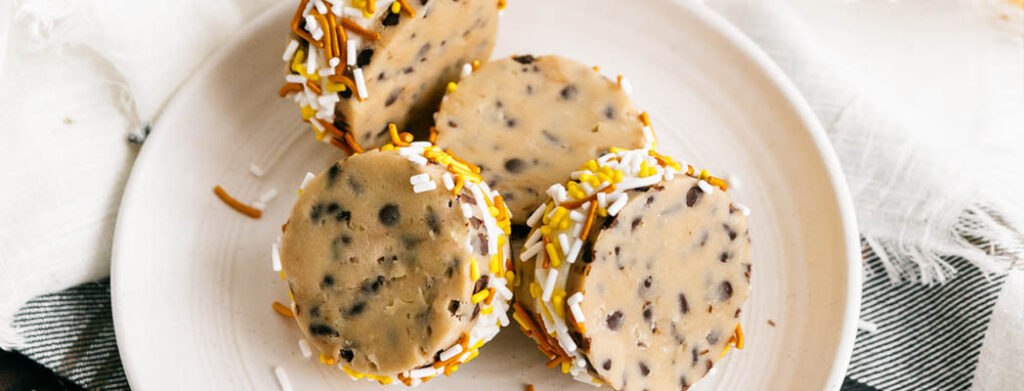
Everyone loves an ice cream sandwich! Whoever decided to take our favorite frozen treat and make it portable was a genius, and there is an undeniable nostalgic comfort that comes with unwrapping one of those little slices of heaven. But if we’re being honest, a lot of ice cream sandwiches are pretty light on flavor. We know we’ve eaten our share of bland vanilla ice cream sandwiched between two rectangular “cookies” that taste more like cardboard than anything we’d want to eat intentionally. So what if we told you there was a better way? That you could easily make the best darn ice cream sandwiches you’ve ever had in the comfort of your own home, without any special equipment.
If you weren’t already sold, it needs to be mentioned that these are no ordinary ice cream sandwiches! The cookie dough used is no-bake and the homemade ice cream is no-churn, which adds up to a no-fuss treat for your family! This recipe was shared with us by Heather Templeton, the baker, author, photographer, traveler, and creator behind Heather’s Home Bakery. She recently published a book called Easy No-Churn Ice Cream, and was kind enough to give us exclusive access to this preview recipe from that book. So what are you waiting for? Ditch that box of boring that’s been sitting in your freezer, whip up this Cookie Dough Ice Cream Sandwich recipe, and thank us (and Heather) later!
In a small to medium sized bowl, begin to make the cookie dough by creaming the butter and both sugars together with a wooden spoon until smooth. Add in the heavy cream, pure vanilla extract, and salt. Blend the mixture until everything is incorporated.
Add in the flour and mix well, finally folding the mini chocolate chips into the batter. Roll the edible cookie dough out between two sheets of parchment paper. You will want the cookie dough to be about 1/2 inch thick. Using a square or round cookie cutter, cut the cookie dough shapes out and place them on a parchment lined cookie sheet. Put the cookie sheet in the freezer for an hour to allow the cookie dough to harden.
In a medium size bowl, make the ice cream by whisking together the sweetened condensed milk, pure vanilla extract, and half-and-half until the mixture is smooth. Set this aside. With a standing or hand mixture, whip the heavy cream until stiff peaks form, 60 to 90 seconds. Gently fold the sweetened condensed milk mixture into the cream that has been whipped. You will want this to be a smooth and lump-free as possible. Prepare 2 8-inch round or square pans by lining with parchment paper. Ensure that the parchment has a bit of overhang so that you can remove the ice cream as a whole unit once it is fully frozen. Separate the ice cream into your two parchment lined pans. Using a spatula, spread the ice cream evenly throughout the pans. You will want the ice cream to be between 1/2 and 3/4 inch thick for an optimum ratio when sandwiched between the cookies. Freeze the ice cream uncovered for 3 to 5 hours or overnight, until firm.
It is best to work in batches so that both ice cream and the cookies remain fully frozen. Remove six cookies and one pan of ice cream at a time. Use the same cookie dough cutter that you used to cut out the cookie dough. Cut squares or circles of the ice cream and each ice cream square or circle between two frozen cookie dough pieces. Gently press down and refreeze the cookie sandwiches until you’re ready to consume them. Repeat this process with the second pan of ice cream and the remaining six cookies. You may want to refreeze the ice cream for a short period of time if you find that it is becoming soft as you assemble the cookies.
Roll the cookie dough ice cream sandwiches in your sprinkles of choice, and refreeze until ready to serve. Enjoy!
Notes
*It has been said that there is a small risk of E. coli when consuming raw flour. If this concerns you, microwave your flower for 1 minute 15 seconds or until 160°F temperature is reached. Allow the flour to cool completely and proceed with the recipe.
*This recipe was shared as part of a joint collaboration between Heather's Home Bakery & Beanilla. This recipe is an exclusive sneak peak to the cookbook 'Easy No Churn Ice Cream' by Heather Templeton.
About Heather's Home Bakery:
Heather’s Home Bakery is a culinary brand that emerged from the combined passions – baking, recipe development, and photography - of owner Heather Templeton. What started as a simple venture into cake-making has now expanded into dozens of original recipes as well as a cookbook featuring 50 exclusive no-churn ice cream recipes! You can find all of the delicious recipes (each accompanied by eye-popping photography) and more at heathershomebakery.com.
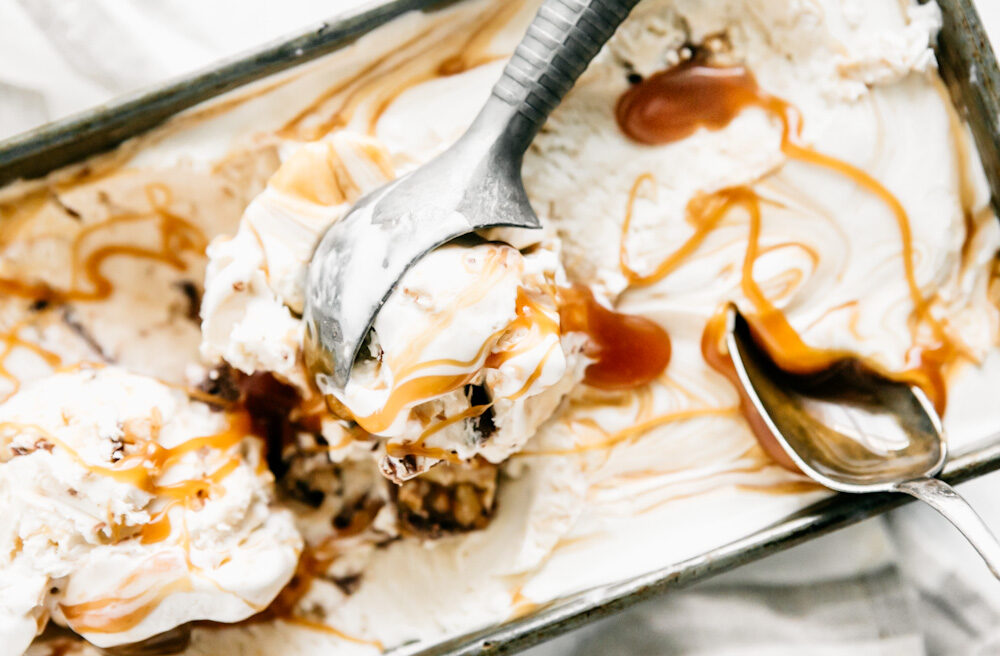
Have you ever wanted to make your own ice cream, only to be put off by how daunting it seems? We have a sweet solution for you! No-churn ice cream is the easy way to get the customization and quality of homemade ice cream without the hassle. And when we say easy, we mean it! If you have never tried no-churn ice cream for yourself, you'll be surprised at how simple (and simply delicious) it is.
What's that you say, you don't have an ice cream maker? That's ok, you don't need one (we told you it was easy). And if you do have an ice cream maker, don't bother getting it out. In the amount of time it takes you to lug the machine from your pantry and set it up, you can have these delicious, decadent ice cream recipes whipped up and ready to freeze. These no-churn recipes are also no-cook, making them perfect for hot summer days - or any day.
All you need to get started is your favorite mixer (hand or stand), a couple of bowls, and a freezer safe container. From there you whip together a few simple ingredients and before you know it, your ice cream will be ready. Previously, we have mentioned our love of 'low effort, high reward' recipes, and no-churn ice cream might be the pinnacle of that category. So clear out some freezer space and find your favorite no-churn ice cream recipe!
*This article was written as part of a joint collaboration between Heather's Home Bakery & Beanilla.
About Heather's Home Bakery:
Heather’s Home Bakery is a culinary brand that emerged from the combined passions – baking, recipe development, and photography - of owner Heather Templeton. What started as a simple venture into cake-making has now expanded into dozens of original recipes as well as a cookbook featuring 50 exclusive no-churn ice cream recipes! You can find all of the delicious recipes (each accompanied by eye-popping photography) and more at heathershomebakery.com.
We're nuts about pistachios! Roasted and eaten right out of the shell, chopped and used to top ice cream or fill baklava, ground into delicious pistachio butter, there are countless ways to savor these sensational seeds. While whole pistachios are incredibly versatile, their flavor tends to be pretty mild and doesn't always shine through when used in baking or other recipes. That's where our Pistachio Flavoring comes in! It's the perfect way to add a potent pistachio punch to your ice cream, cakes, cookies, coffee, and more. We've rounded up some of our favorite pistachio flavoring recipes to help get you started!
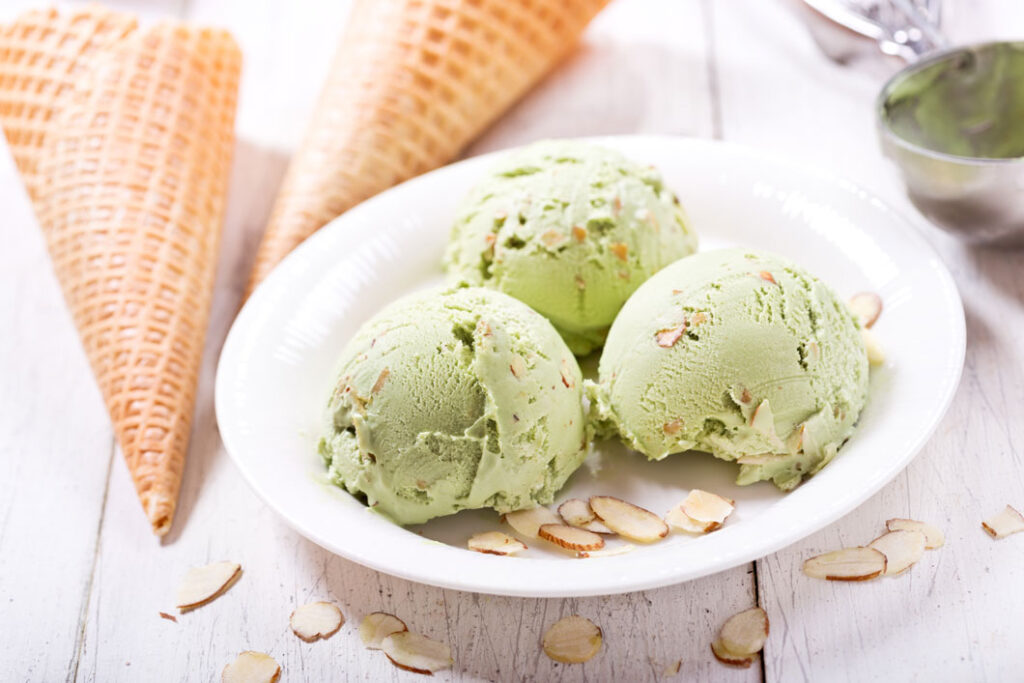
Ultimate Pistachio Lover's Gelato
From: Love & Olive Oil
Creamy, decadent, and absolutely bursting with pistachio flavor, this gelato recipe will keep you cool--and your taste buds happy--all summer long.
Candy-making can be intimidating, but this straightforward recipe is a great way to ease into it. The most difficult part might be not eating the results before you can share them!
This nutty take on the classic pound cake is dense, moist, and perfect for sharing. Substitute Pistachio Flavoring for the almond extract to really take things to the next level.
Of course we had to include our own recipe! Forget waiting in line and paying high prices; it's easy to make this gourmet coffee drink in the comfort of your own home!
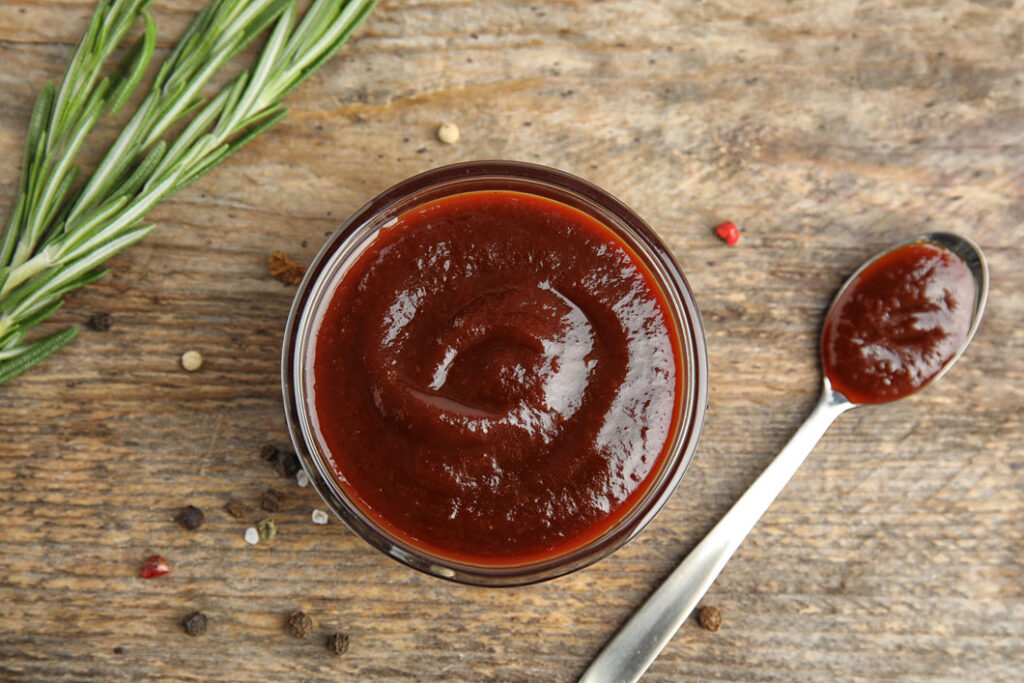
Here at Beanilla, we love all the classic uses for vanilla: baking delicious cakes and cookies, making ice cream, and whipping up all sorts of sweet treats. But we also like to highlight applications that might not immediately spring to mind. Case in point, our recent post about Refreshing Summer Drinks, several of which include vanilla. With summer grilling season still going strong, we thought it would be fun to take things to an even more savory extreme by rounding up a selection of vanilla-infused barbecue sauce recipes to help you take your next cookout to the next level.
Cherry Vanilla Bourbon Barbecue Ribs
From: The Urban Cowgirl
This recipe is for ribs, but you can use this sweet, tangy sauce on just about anything!
Bourbon adds a little bite and a little sweetness to the mix. If you're not used to cooking with alcohol, don't worry; most of it will burn off as it simmers, leaving only the flavor behind.
This Carolina-style mustard sauce is the perfect way to shake things up at your next cookout. Try it on chicken, pork, or anything else you want to taste awesome!
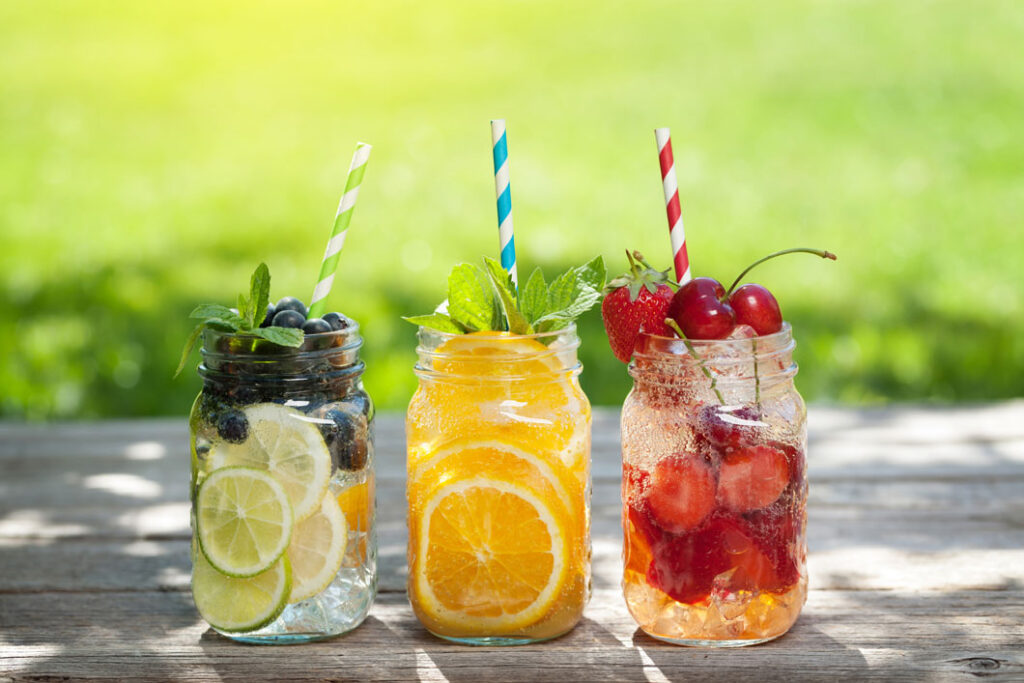
Summer is finally here! We love a good day at the beach or backyard cookout, but sometimes it can be hard to cool off after too much fun in the sun. That's where a nice cold beverage can be indispensable. While there are endless options ranging from pre-made drinks to age-old recipes for lemonade and other classic concoctions, you know we have to take things up a notch. That's why we have compiled a list of some of our favorite resplendent refreshments from our blog. There's something for everyone: cocktails, soft drinks, and even iced coffee in case you need help staying awake to enjoy the long days while they last. Whatever your proverbial poison, you're sure to enjoy these summer drink recipes!
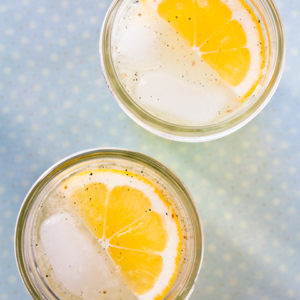
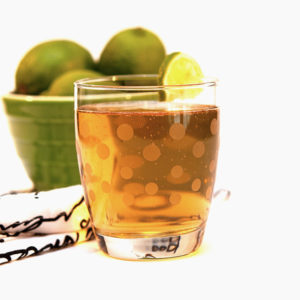
Vanilla Bean Lemonade
This recipe for vanilla bean lemonade combines the bright, citrusy flavors of lemon with the fragrant sweetness of vanilla bean, resulting in a refreshing and flavorful summer drink
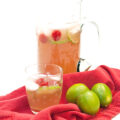
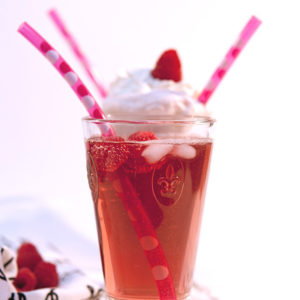
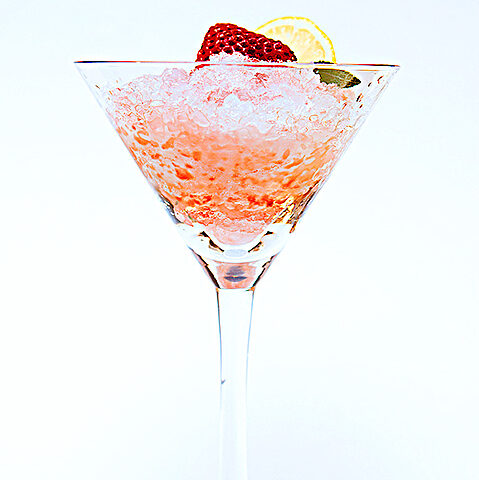
If you think there's nothing more refreshing on a hot summer day than a tall glass of lemonade, that's only because you haven't tried this amazing raspberry limeade recipe, infused with just the right amount of vanilla.
It's easier than you probably thought to make delicious, all-natural soft drinks in your own home. In this recipe, we offer three different refreshing options.
We all need a little pick-me-up once in a while, and this delicious vanilla-infused ice coffee recipe is a refreshing way to get a cup of Joe even when the temperatures soar.
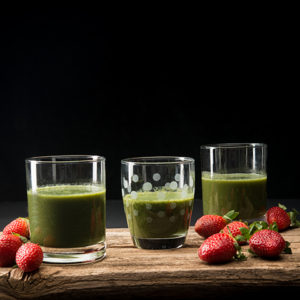
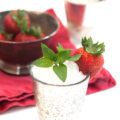
Indulge in the vibrant goodness of a Green Vanilla Smoothie, blending together nutritious greens, a touch of sweetness from vanilla, and a creamy texture for a refreshing and healthy beverage that will leave you feeling revitalized.
Savor the delightful combination of nutty almond and tangy raspberry in an Almond-Raspberry Italian Soda, creating a fizzy and flavorful beverage that is both refreshing and satisfying.
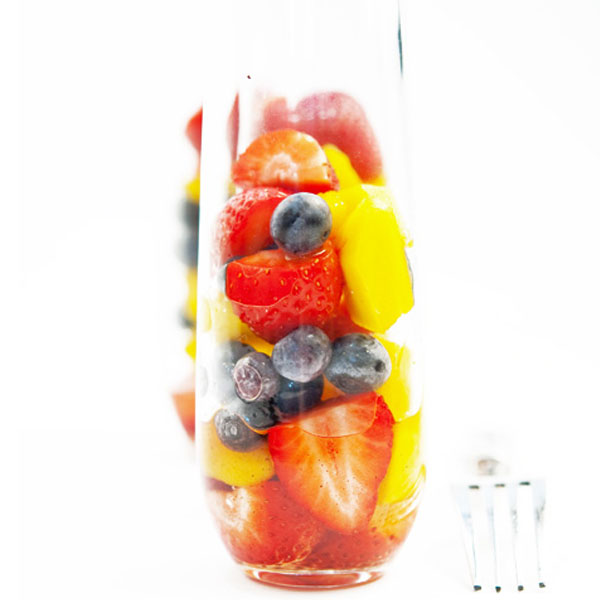
From tarts and parfaits to scones and pudding, the addition of fruit is the perfect way to add fresh flavor to many desserts and recipes, especially during the summer. Now, we know that fruit is more than capable of standing on its own in a recipe - and when you're craving a fruity treat, you want the delicious fruit flavor to be the star of the show - but what kind of vanilla enthusiasts would we be if we didn't try to incorporate our favorite flavor into just about everything? As such, we went to work to discover recipes that combine fresh fruit and vanilla (in any of its forms) in the perfect, complementary way.
Check out the following recipes to add some fruity-vanilla freshness to your day.
Fruity Recipes:
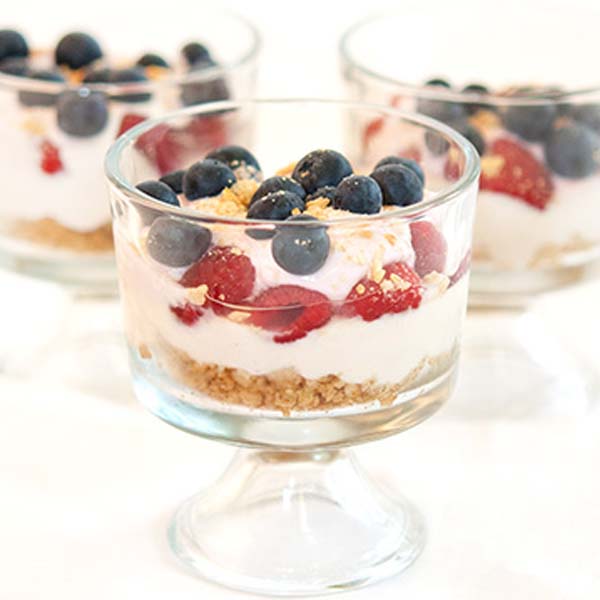
No Bake Patriotic Cheesecake Parfaits
From: Beanilla
Creamy vanilla cheesecake layered with blueberries and raspberries makes for the perfect patriotic treat.
A vanilla bean helps to round out the flavor of these spicy & tart cherries. Keep these on hand to add to cheese boards, salads, or to serve with meat.
Vanilla and cardamom add warmth to this fruity summer jam. Just cook down the fruit and pour it into a jar and you will be ready to enjoy this flavorful homemade jam.
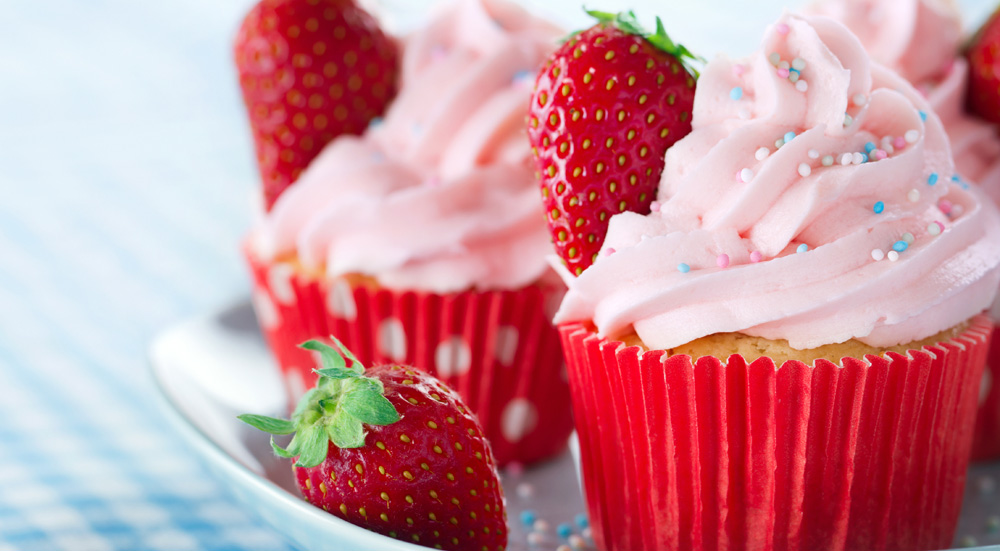
These bite-sized strawberry scones are the prefect treat for a party, get together, or at home snack. With chunks of strawberry and a sweet vanilla glaze, these are sure to be a favorite.
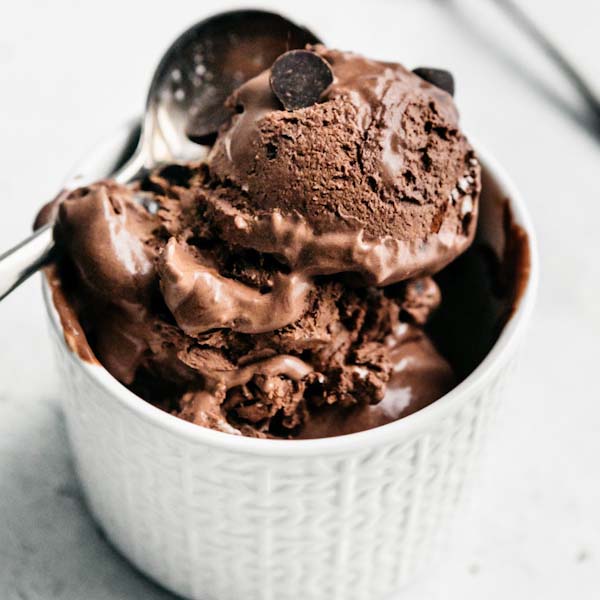
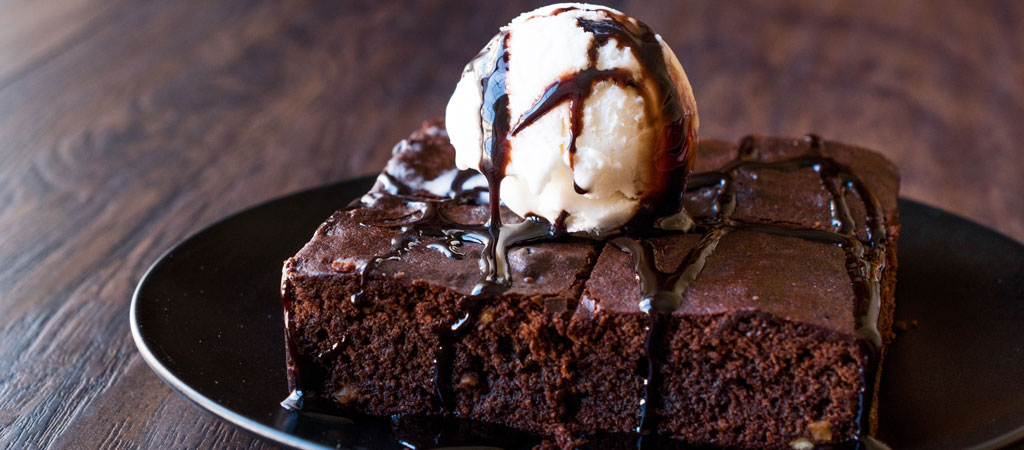
Everyone loves a good chocolate dessert! Whether eating it as an at-home snack or providing dessert for a crowd, you can't go wrong with a rich, chocolatey treat. But what if your chocolate desserts could be even better? We know what you're thinking, how can you make chocolate better than it already is? The answer is simple - by adding more of it, but in a different form than what you might be used to. Chocolate in extract form that is.
Using Chocolate Extract
Like vanilla extract, that is made by extracting flavor directly from vanilla beans, chocolate extract is made by extracting flavor directly from cocoa beans. The result of the extraction process is a bottle of rich, highly concentrated, natural chocolate flavor.
Chocolate extract is most often used by adding a small amount to recipes that have a chocolate base. You will find that when used in recipes alongside cocoa powder or melted chocolate, chocolate extract highlights the chocolate flavor and adds irresistible depth.
If you want to see how others have incorporated chocolate extract into their treats and desserts, take a look at the following collection of amazing chocolate recipes.
Chocolate Recipes:
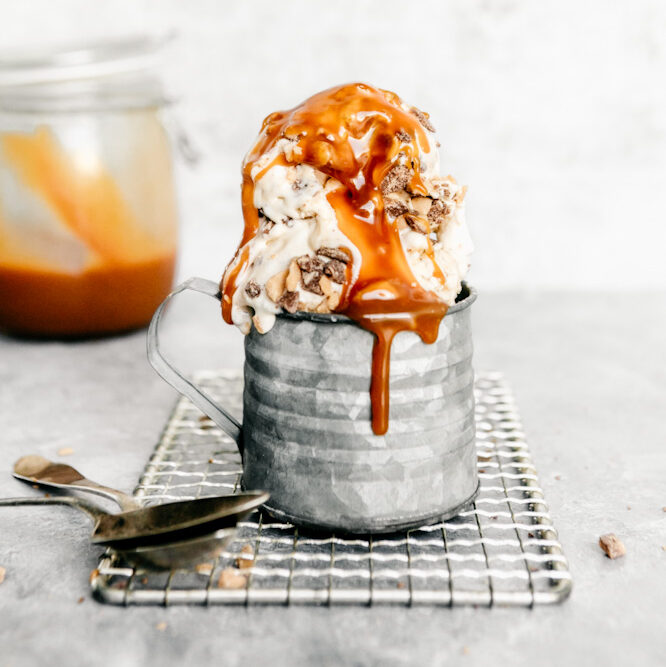
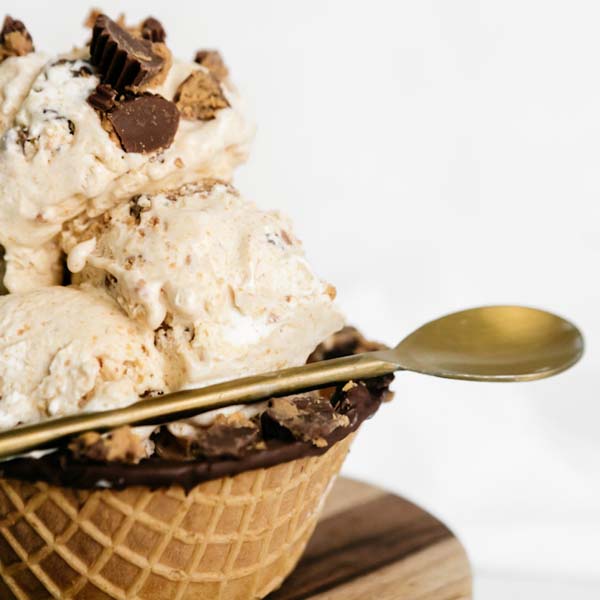
Chocolate Peanut Butter Cup Ice Cream
From: BruCrew Life
Chocolate extract adds another level of chocolatiness to this perfect summer ice cream.
Behind the beans here at Beanilla we are regular people just like you. And like you, we love finding great recipes, especially ones that contain all of our favorite ingredient - vanilla! When it comes to finding new recipes to try, we don't pass on those that are less popular, as there are many talented chefs behind many of those recipes and you can often find new favorites among them. While we love 'hunting' for these lesser known recipes, we can't deny the draw of a highly rated and reviewed recipe. Why not check out a recipe that many others have already tried and given their praise for?
Due to an insatiable appetite for all things vanilla (the reason we exist), we recently set out to discover what types of vanilla recipes are the highest rated and reviewed. We found several and wanted to share them with you. For this blog post we decided to group together several highly rated vanilla dessert recipes found on allrecipes.com (no, there is no affiliation or sponsorship from them for this - they just share a lot of good recipes).
To make this list, a dessert recipe had to use vanilla extract and be rated 4+ stars from at least 1,000 ratings. So you could say there's a good chance they are all pretty good! Check them out and maybe you will find a favorite new way to use your vanilla!
*Recipes from allrecipes.com. Ratings and reviews noted are as of the original publish date of this post.
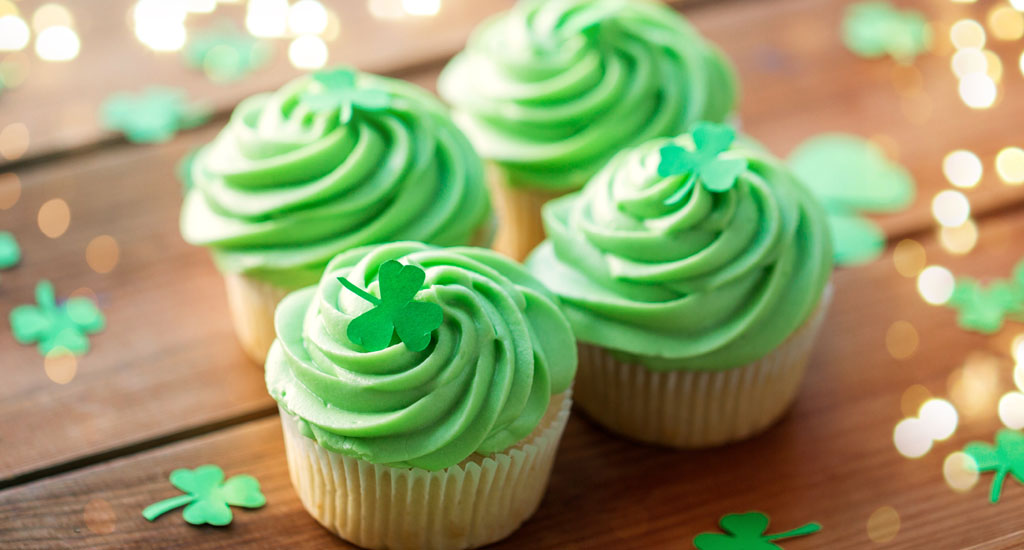
We jump on any opportunity to make food fun & festive and there is no better reason to do so than celebrating St. Patrick's Day! The addition of green treats & desserts on St. Patrick's Day is one of the easiest & best ways to add another level of fun to the day. To help you find the perfect green treats to add to your table, we compiled some of the best recipes that you are sure to love. And let's be honest, it wouldn't be fair to make a green treat that isn't mint flavored - so enjoy these minty-green dessert recipes.
Chocolate Mint Dream Bars
From: 365 Days of Baking & More
Oreo cookie crust, peppermint, pudding, whipped topping - there's a reason they are called Dream Bars.
Whether they are standing alone as a side or snack or adding a sweet touch to desserts, salads, and drinks, there are few foods as versatile as strawberries. Their flavor dominance spans breakfast, lunch, and dinner (and everything in-between) and we wouldn’t have it any other way! While there is no direct replacement for fresh strawberries, especially as a garnish, natural strawberry extract allows you to add authentic strawberry flavor to any recipe. Strawberry extract can be used to flavor cakes, cookies, ice cream, beverages, breads, and more. We rounded up some great strawberry recipes to help demonstrate how you too can use strawberry extract in your kitchen. Enjoy!
Recipes:
These strawberry recipes are great any time of year but make for extra special Valentine's Day treats!
Strawberry Cupcakes
From: Cake Whiz
A simple, pink, from-scratch cupcake recipe that is full of strawberry flavor.
Just like it sounds - all the goodness of strawberry shortcake baked into snackable cookie sized desserts. These 'cookies' make a great addition for any occasion.
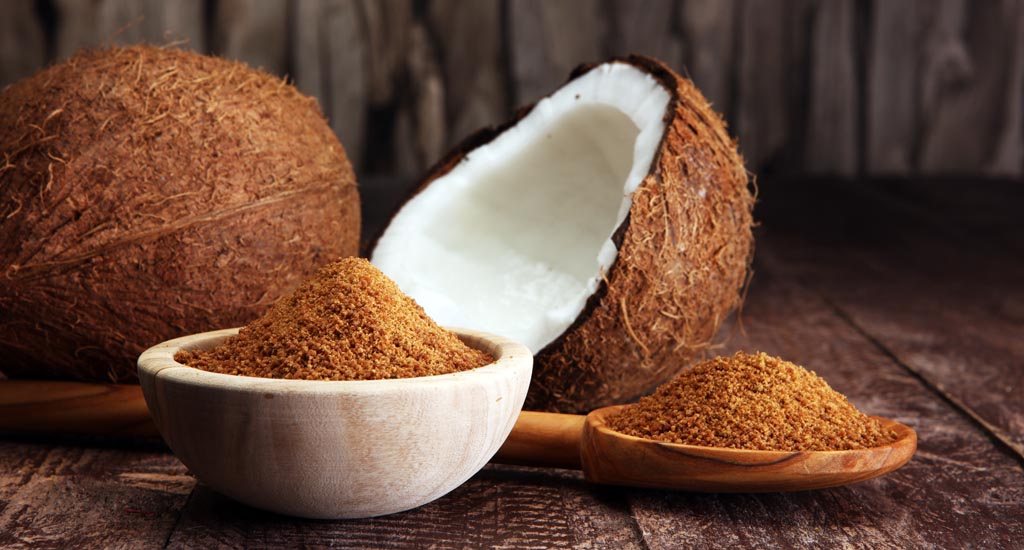
Coconut sugar is one of those ingredients that seems to have just popped up overnight. While this is true in the Western world, where its popularity has skyrocketed (along with a host of other alternative sweeteners) in recent years, coconut sugar has been a staple in Asian kitchens for generations. But what exactly is coconut sugar, and why does it deserve a place in your pantry? Keep reading to learn all about this sweet sensation.
What is Coconut Sugar?
While the name might have you picturing the familiar white-fleshed fruit of the coconut tree, coconut sugar is actually made from the tree's sap. In a process similar to making maple syrup, the coconut sap is reduced by heating it so that the water evaporates. This eventually results in a thick syrup, some of which is used in a liquid form, and some of which is further reduced into a crystalline sugar.
One of the reasons coconut sugar has gained so much attention in recent years is that it has a number of potential health benefits compared to traditional white sugar. Many people appreciate that it is unrefined, and therefore a more natural product than plain sugar. Minimal processing also means that coconut sugar retains several nutrients and minerals, including potassium, magnesium, iron, and zinc. It also has a lower glycemic index than white sugar, meaning it is less likely to cause spikes in blood sugar.
How to Use Coconut Sugar
We know what you're thinking: it's nice that this stuff is natural and potentially healthier, but what does it taste like? And how do I use it? To answer the first question, it's delicious, of course! Since coconut sugar is unrefined, its flavor profile has a lot in common with brown sugar. Sweet, but with some darker notes of caramel or toffee. This makes it a great substitute for brown sugar in recipes, but its lower moisture content means it can sub in for white sugar as well. And it's easy to make the switch since coconut sugar can be substituted in a 1:1 ratio for either white or brown sugar. If you're ready to try it yourself, we've gathered just a few of our favorite coconut sugar recipes below.
Rum-Kissed Coconut Granola
From: The Bojon Gourmet
Looking for a snack that's healthy, delicious, and most importantly easy to make? Look no further!
As 2024 has come to a close we look back at our most popular recipes of the year. This year's list contains traditional favorites as well as some new takes on familiar recipes. Whether its sugar, soda, cookies, or salt, one thing is consistent throughout our most popular recipes - vanilla makes everything better!
Vanilla Extract
Prized for its rich, complex flavor and incredibly smooth aroma. There simply is no substitute for homemade extract!
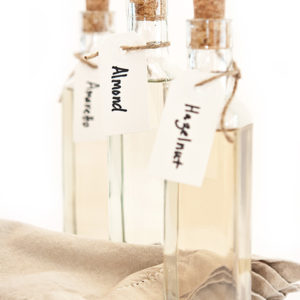
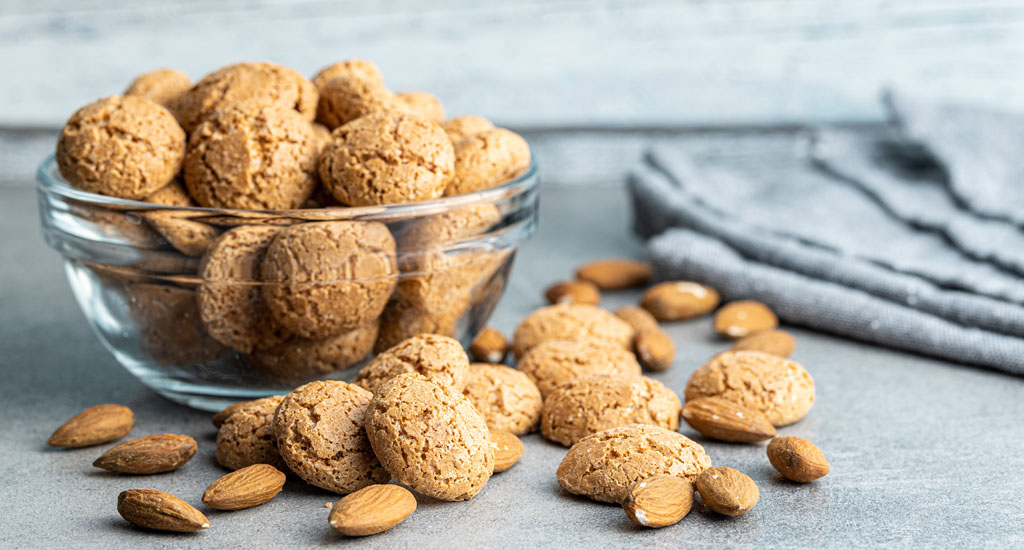
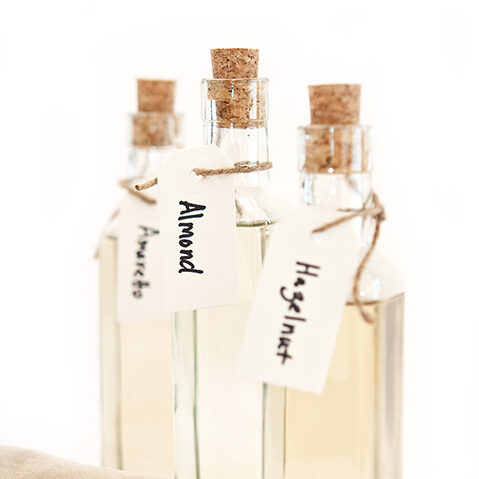
Amaretto is a sweet and slightly bitter almond-flavored Italian liqueur. Amaretto is most commonly made from the seeds or pits of drupes (stone fruits) such as almonds, apricots and peaches. All three of these are suitable flavorants as they contain the organic compound benzaldehyde, which is the source of the almond, nutty flavor of amaretto.
Amaretto Uses & Recipes
Amaretto is often enjoyed as a cocktail mixer and coffee additive but also stands strong for its culinary capabilities. Naturally, amaretto’s almond flavor makes it a versatile ingredient around the kitchen and incorporating it into recipes is a great way to enhance desserts and other baked goods. You can use your favorite liqueur brand in your recipes or check out our natural Amaretto Flavoring to keep on hand (it probably fits better in your spice cabinet). When substituting Amaretto Flavoring for liqueur, use 1/4 teaspoon of flavoring for every tablespoon of liqueur.
If you want to incorporate amaretto into your kitchen, here are some great recipes for you to try.
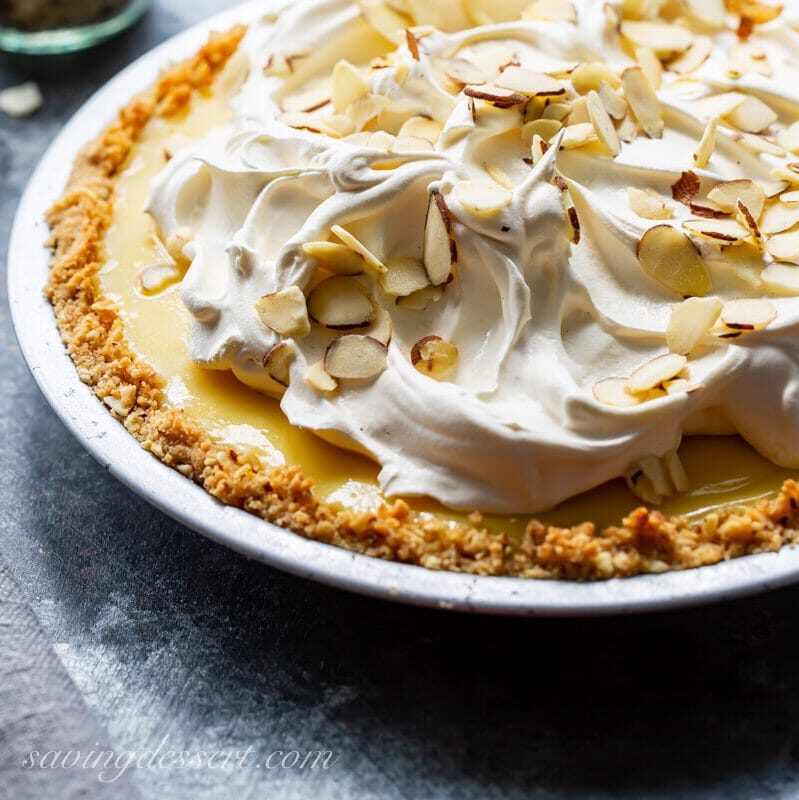
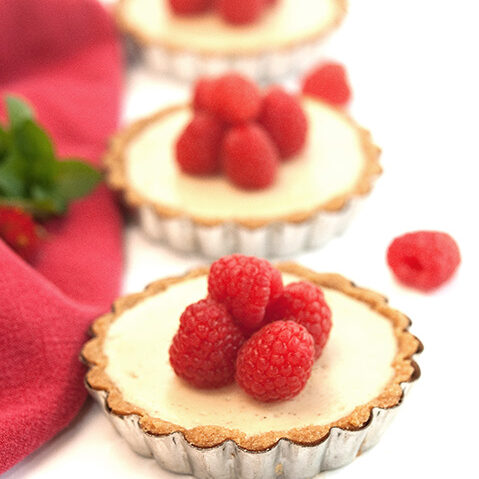
Amaretto Cream Pie
From: Saving Room for Dessert
This cream pie is an almond lovers delight! A shortbread-almond pie crust with a sweet amaretto filling topped with whipped cream garnished with almonds.
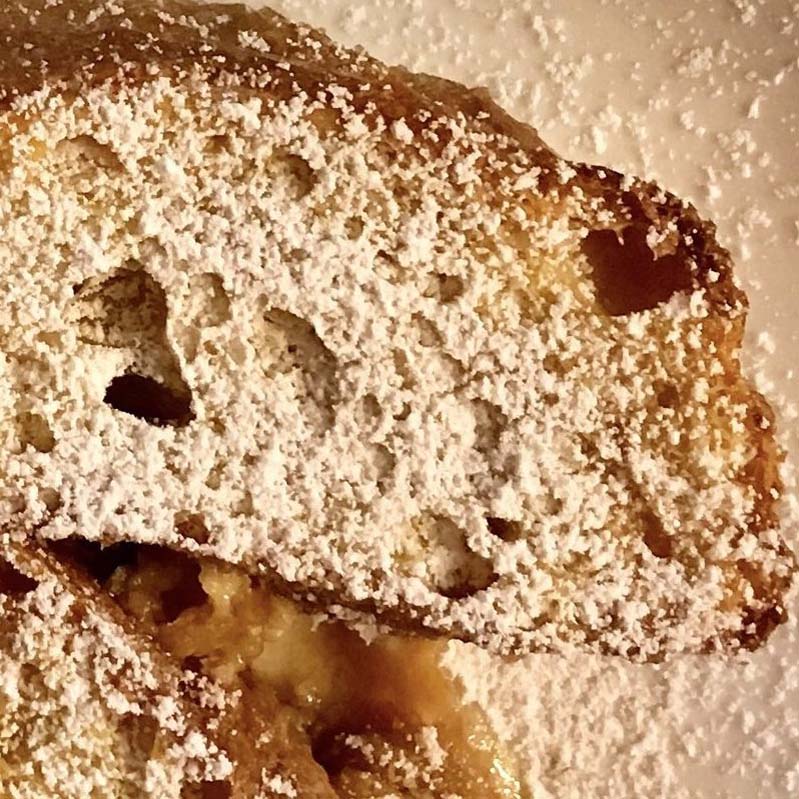
Breakfast will never be the same after you add this to the menu. A small tweak to a traditional family recipe brings the addition of amaretto to this dish, making mornings even more delightful.
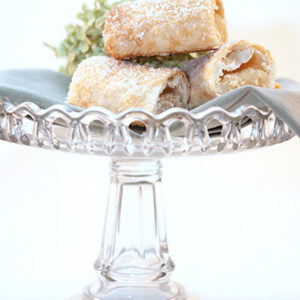
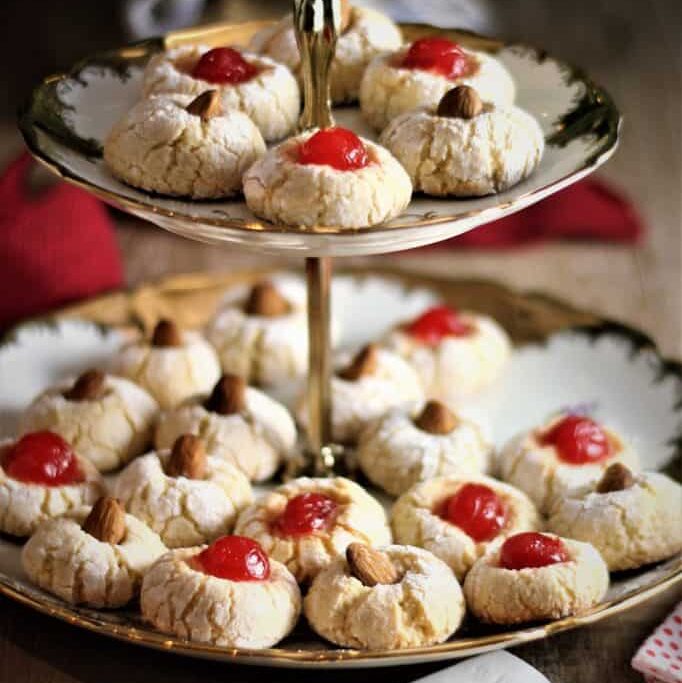
These crumbly Italian cookies combine orange zest and amaretto to create an incredibly flavored biscotti. And it just gets better as they are rolled with a Nutella filling and finished with some sugar on top.
Yes, you read that right. Tiramisu meets cheesecake in this masterfully combined dessert. Amaretto, coffee, and mascarpone cheese make for iconic Italian flavor in this fluffy cheesecake.
These snowballs are simply delicious. How simple you might ask? They only require 4 ingredients and no baking. Also, they're vegan & gluten-free, so there is no excuse not to make them.
We all know there's not much better than strawberry jam. But what we might not know is it can be even better. Infuse your jam with some amaretto to further enhance its goodness!
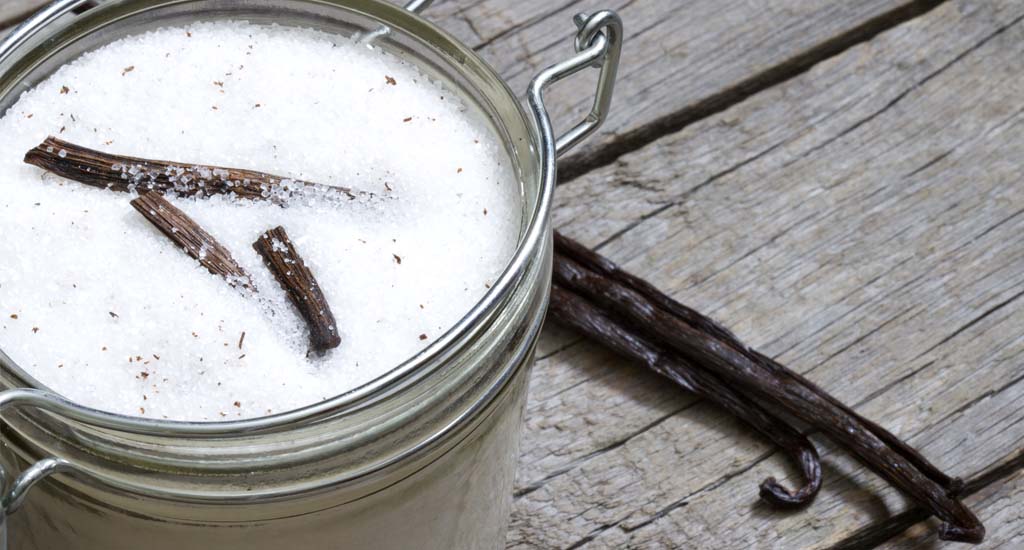
Vanilla sugar is as amazing as it sounds! Take the rich, aromatic flavor of vanilla and combine it with sugar and you have your new favorite ingredient. Vanilla sugar is super versatile, which is perfect because you will want to add it to everything. Substitute it into any recipe that calls for granulated sugar, use it to enhance your morning coffee, or garnish your baked goods. Vanilla sugar is a great way to reuse your vanilla beans from making extract and it makes a gourmet gift for any occasion.
The second best part (second only to the flavor), vanilla sugar is easy to make and keep on hand!
How Do You Make Vanilla Sugar?
Like any recipe, there are several ways to make vanilla sugar and we encourage you to experiment and find the style and flavor balance you prefer. You might find you like to use one style for drinks and another for baking. Regardless of the method you decide to use, all recipes start with two simple ingredients: whole vanilla beans & sugar. To help you find your favorite sugar we developed several vanilla sugar recipes, each with a little different approach.
Check out the following vanilla sugar recipes to find your favorite:
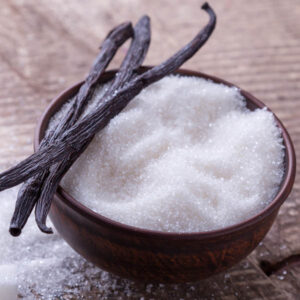
A traditional vanilla sugar recipe. Whole vanilla beans (or cut pieces) are placed into sugar, infusing it with incredible flavor as it sits. Some prefer this recipe, especially in drinks, as the sugar doesn't contain ground bits of the vanilla bean/vanilla caviar.
1-2Vanilla Beans(fresh or repurposed beans - any variety will work.)
Instructions
Place sugar into desired storage container.
Add beans to container, covering with sugar.
Cover container and allow to sit for at least 2 weeks.
Notes
If you are reusing beans from a wet application (ex. extract), allow to air dry before adding to sugar.
Flavor will continue to build as the sugar sits. 2 weeks is the earliest we recommend, but some prefer to let it age for months or years.
Add more sugar to the container to replenish as you use it. The flavor will be infused into the new sugar. Add or replace beans as needed.
1-2 beans per 2 cups of sugar is usually sufficient to achieve flavor, but you can experiment with the number of beans to find the flavor strength you desire.
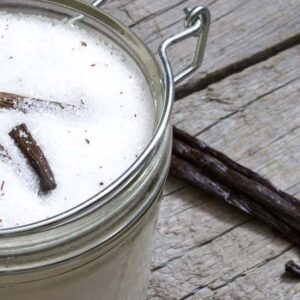
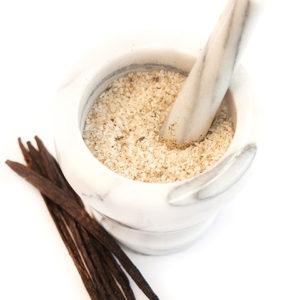
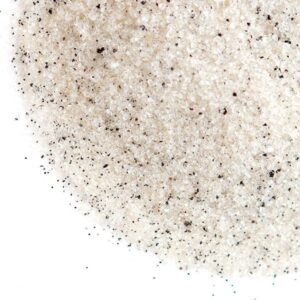
Flavorful & aromatic sugar infused by mixing ground vanilla beans or vanilla caviar into the sugar. The flecks of vanilla throughout the sugar add a strong visual identity, allowing you to 'taste it with your eyes'. The beautiful appearance of this vanilla sugar makes it great for gifting!
Knife or Spice Grinder (coffee grinder or blender works)
Jar or Container (for storing)
Ingredients
2CupsGranulated Sugar
1-2Ground Vanilla Beans or Caviar from Beans(any variety will work)
Instructions
Place sugar into desired container.
If using ground vanilla beans: Place whole beans into spice grinder and grind to desired consistency. If using vanilla caviar: split beans lengthwise with knife and scrape out seeds with a knife or spoon.
Add ground vanilla beans or caviar to sugar.
Shake/whisk/mix sugar and vanilla together to evenly combine.
Optional: if using vanilla caviar, add used bean pods to container for extra flavor.
Cover container and store. Vanilla sugar can be used immediately but the flavor will continue to grow as it sits - we recommend waiting at least two weeks.
Notes
Depending on how course/fine you grind your beans there may be small bits of the bean pod detectable in food or drinks. Some enjoy these small remnants while others may find them unpleasant. You may want to sift sugar when using if undesired. Need vanilla beans? Shop our gourmet selection.
Keyword vanilla sugar
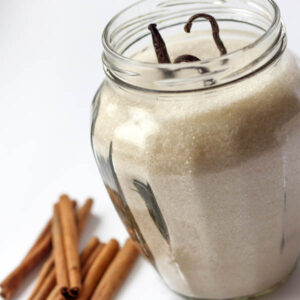
Vanilla Cinnamon Sugar
Sugar + cinnamon has long been known as a perfect pairing, but sugar + cinnamon + vanilla... pass a spoon! Use in your baked goods, sprinkle it on toast & snacks, or pair it with a jar of vanilla bean sugar to make a gourmet gift set.
If you want to skip the recipe making altogether, check out our already infused & blended Vanilla Bean Sugar.
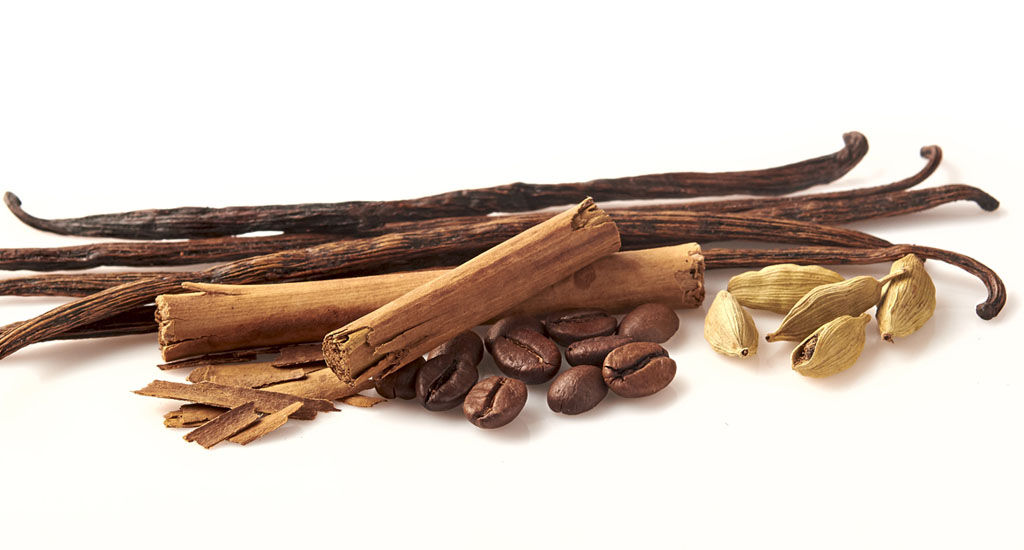
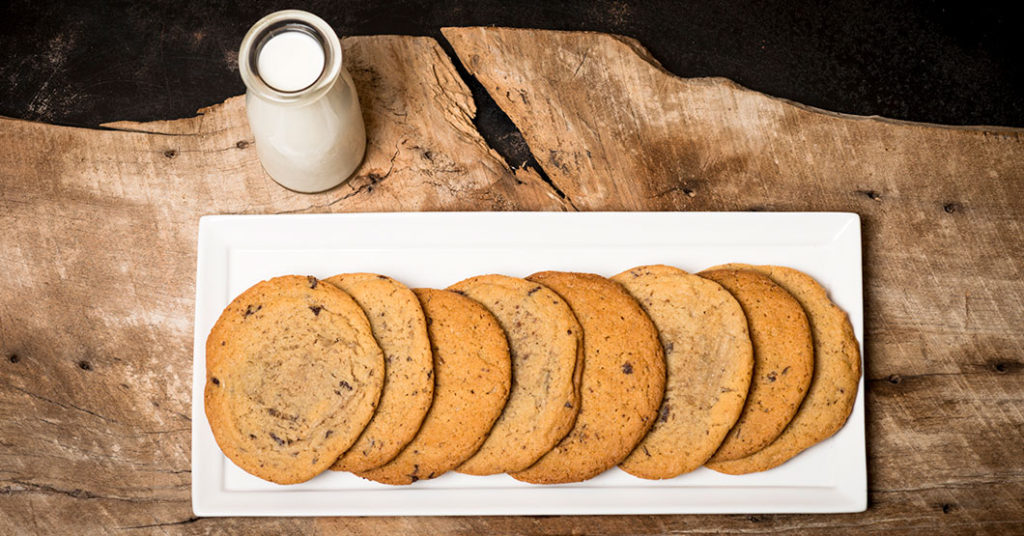
We love chocolate chip cookies as much as the next person. Let's face it, though: after the hundredth time you bake them, that tried-and-true classic can start to feel a little, well, stale. The good news is that it only takes a few extra ingredients to add a bright, citrusy kick to the formula. Our Orange Cardamom Chocolate Chip Cookies Recipe will show you how to bake up the perfect dessert for your summer get-together!
Cardamom has a potent flavor, with notes of ginger, citrus, and even mint. It is one of the oldest known spices in the world, though for much of its history, it has been primarily used for its perceived medicinal properties. There are records of ancient Egyptians using cardamom to clean their teeth and freshen their breath. Greeks and Romans believed it aided digestion, and also prized its pungent aroma for use in oils and perfumes. In more recent times, cardamom has become known for its antioxidant and anti-inflammatory properties.
In the culinary world, cardamom is widely used in its native India and throughout the Middle East. Interestingly, it is also quite popular in Nordic countries. It's believed to have been brought back by the Vikings from what is now Turkey. It's now a star player in a number of Scandinavian pastries and breads. Of course, it is also an essential ingredient in Glögg, which is a type of mulled wine.
Because of its citrus notes, cardamom pairs quite nicely with other citrus flavors, particularly orange. For our Orange Cardamom Chocolate Chip Cookies, we complement ground cardamom with a generous amount of our own orange extract. Toss in some chocolate chips, and top with just a sprinkle of sea salt. The resulting cookies are sweet, a little tangy, a little spicy, and entirely delicious. Oh, and we have a feeling they're also not likely to last very long!
Orange Cardamom Chocolate Chip Cookies
This bright, citrusy take on a classic is perfect for summer entertaining.
In a medium bowl, sift together flours, baking soda, baking powder, salt, and cardamom.
Using a stand mixer with a paddle attachment, cream together butter and sugars for about 5 minutes, or until very light.
Add eggs, one at a time, stirring well after each addition. Add in the orange and vanilla extracts.
Reduce speed to low, and mix in dry ingredients until just combined. Add chocolate chips and mix to combine.
Cover dough with plastic wrap, pressing wrap down to surface of dough. Refrigerate for 24-36 hours.
After dough has had enough time to rest, preheat oven to 350 degrees. Line a baking sheet with parchment paper or a nonstick baking mat.
Scoop six 3 1/2-ounce mounds of dough onto baking sheet. Lightly sprinkle a small amount of sea salt over each cookie. Bake until golden brown but still soft, about 18-20 minutes. Cool on baking sheet for 10 minutes, then transfer cookies to wire cooling rack.
Keyword cardamom, chocolate chips, cookies
It's no secret that we love vanilla. Since our company's founding over 15 years ago, those sweet, creamy, floral beans have been the cornerstone of our business. We're always on the lookout for opportunities to bring new vanilla products to our customers and work more closely with vanilla farmers around the world. That's why we are excited and proud to announce Beanilla’s Samoan Vanilla Initiative!
A Personal Connection
Spearheading our new Initiative is our COO, Tila’afe Merrick. Tila'afe was born in California but moved to Samoa with his parents when he was an infant. They moved back to the USA when Tila'afe reached school age. He spent his formative years here and built a strong background in the online retail industry. In 2013, Tila'afe visited Samoa for the first time since he was a child. His goal was to reconnect with his cultural roots and then get back to his office job in the States. However, life had different plans for him.
Tila'afe and his wife fell in love with Samoa and decided to upend their lives and move their family there. What started as a search for a deeper cultural identity soon became an opportunity to help the people of Samoa. They started a YouTube channel, JAMily TV, to document their adventures. They began to hear from an increasing number of people like Tila'afe, who had left the country to seek better job prospects, but who longed to reconnect with their native land. Tila'afe realized he had the chance to not only forge a deeper connection with the people of Samoa, but to help the local economy by driving tourism. This desire to help Samoa is a large part of what brought Tila'afe to Beanilla.
Our Samoan Vanilla Initiative
Thanks to Tila'afe, we discovered the beauty of Samoan vanilla. Samoan vanilla beans tend to be lighter, sweeter, and less earthy than vanilla from other origins. They also have a fig-like fruitiness. It was love at first sight (or should we say smell) for us!
Like most fledgling relationships, our newfound love presents us with some challenges, but also some amazing opportunities. While vanilla orchids can be found growing all across Samoa, the infrastructure to properly harvest, cure, and export the beans they produce is severely lacking. Our goal is to be able to step in and help correct this.
We plan to work directly with the government and people of Samoa to establish a thriving vanilla trade. Drawing on our years of expertise in the industry, we will provide resources and education to help Samoa become a major exporter of vanilla beans. By working directly with the farmers, we can ensure work is done under fair conditions and that they receive a fair price for their product. More money will also go directly to the people doing the work, rather than to a large network of exporters, importers, suppliers, resellers, etc., which most goods are subject to.
Our Initiative is certainly ambitious, and will be an ongoing effort over the next several years. As we work to help build up the country's vanilla infrastructure, we will also partner with the only currently-operating commercial vanilla farm in Samoa to help introduce their beautiful beans to a wider audience. More on that below.
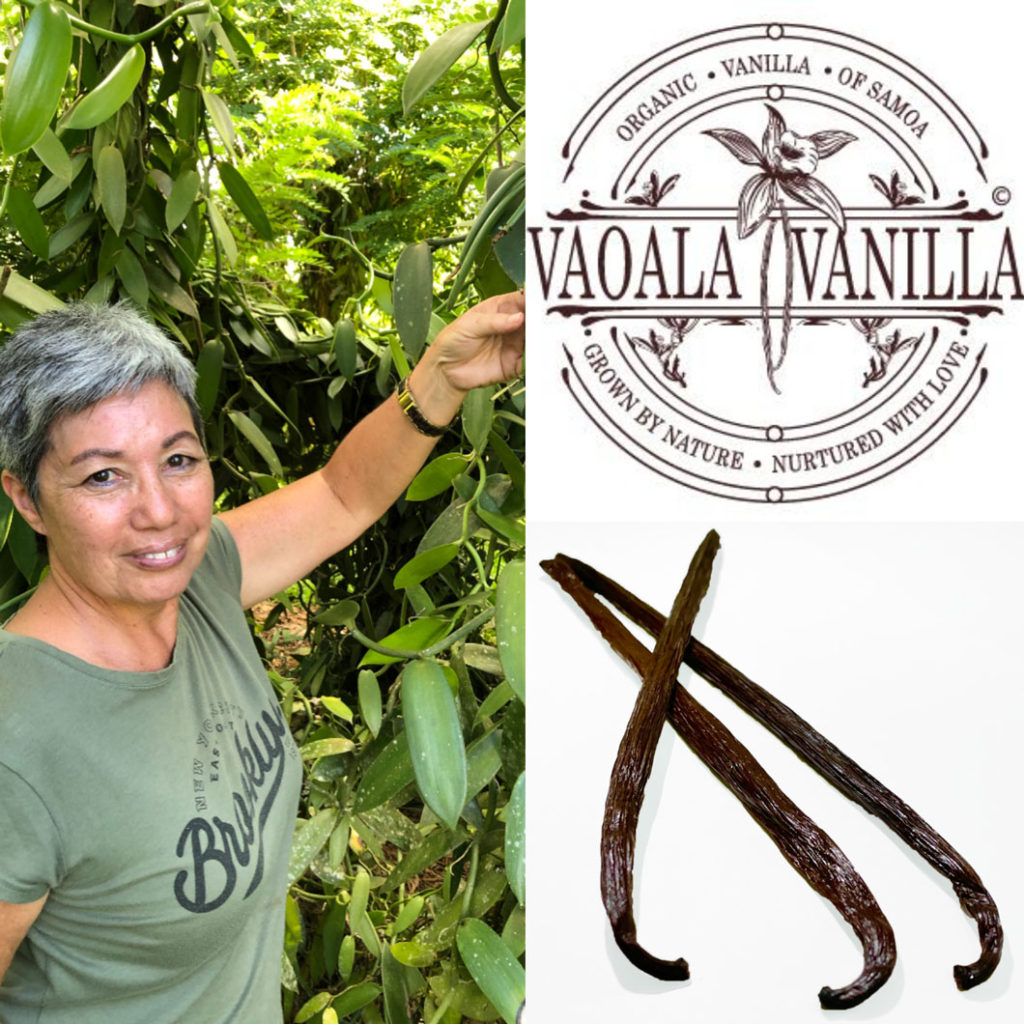
Our First Partner: Vaoala Vanilla
Our first partner under our new Initiative is Vaoala Vanilla. Vaoala is the name of the village where the farm is located, but it also has a deeper meaning for proprietor Shelley Burich. The name Vaoala comes from Samoan words meaning “forest” and “awaken.” Shelley feels Vaoala symbolizes the way vanilla has awakened her passion for working in harmony with nature.
The only commercial vanilla farm currently operating in Samoa, Vaoala is a small, indigenous family-owned business. They use traditional, natural farming and processing techniques to produce only the finest organic vanilla beans. Shelley also sees Vaoala as a way to help give back to her community. She has begun working with other small farmers, training and assisting them with vanilla cultivation, as well as providing employment opportunities.
For these reasons and so many more, we are excited to be able to share Samoan Vanilla Beans from Vaoala with you. Stay tuned for more updates on our Samoan Vanilla Initiative!
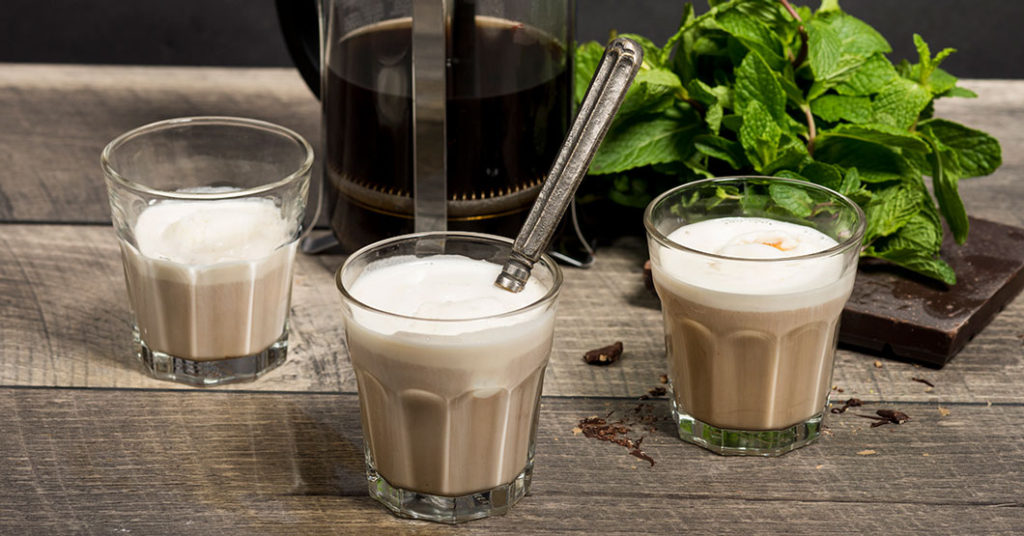
The affogato: is it a dessert? Is it a beverage? What the heck is an affogato in the first place? Whether you've never heard of an affogato, or you're looking for a fresh take on the formula, you came to the right place. We’ll spill all the details about this modern Italian after-dinner classic (and offer our unique spin on it) in our Vanilla Mint Affogato recipe.
The Italian word affogato literally translates as “drowned” in English. The name is appropriate for a simple concoction made by pouring hot espresso over a scoop of ice cream or gelato. Interestingly, nobody is quite sure where or when the affogato originated. We do know that it's a relatively recent creation, gaining popularity in the latter half of the 20th century. The word was only added to English dictionaries in 1992. Affogatos have become trendy in recent years, with coffee shops across American offering affogato-inspired drinks.
In Italy, affogatos are generally enjoyed after dinner, and serve as a sort of coffee/dessert hybrid. Italian affogato is usually made with gelato, specifically fior di latte. This translates as “flower of milk,” and is a simple gelato comprised of just milk, cream, sugar, and a starch. The lack of additional flavors means a very high-quality milk is required, to allow the dairy to shine through.
While we certainly appreciate tradition, a dessert without vanilla is simply not our style, so we developed our own Vanilla Mint Affogato. Our vanilla paste helps balance the potent espresso, while fresh mint cuts through the richness of the other ingredients to brighten up the whole affair. While you can certainly use any ice cream or gelato you like, we are just a little biased towards vanilla. Whichever version you serve, offering your guests an affogato at the end of a meal will ensure everyone has a bella notte, or beautiful night!
Vanilla Mint Affogato
A delicious spin on the Italian after-dinner classic.


 When your extract is done brewing you can leave the beans in or you can remove them and strain the extract. If you remove the beans you can use them to make vanilla sugar!
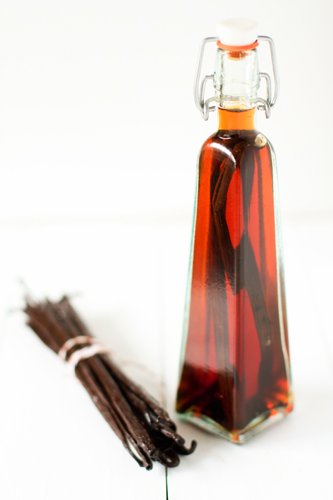


