

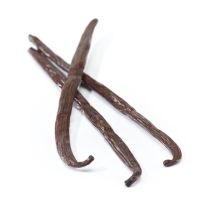
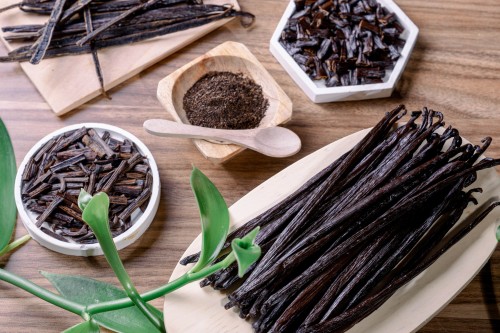
Dried Vanilla Beans? Plump Them Up!

Plumping vanilla beans in vodka or rum is a great way to use, store and even reconstitute dried vanilla beans. Plumping vanilla beans not only keeps them moist and fresh for up to six months, it also makes harvesting the vanilla bean caviar simple and easy! Plumping the beans softens the inner seeds into a kind of paste that is easier to work with, unlike an unsoaked vanilla bean. With a simple squeeze, you can empty the vanilla bean of its seeds in very little time. If you have never seen or heard of this technique, below is the simple step by step process. Plus, we included a delicious and simple vanilla whipped cream recipe once your plumped beans are ready!
Plumped Vanilla Beans
Adapted from Sarabeth's Bakery: From My Hands to Yours
What you’ll need:
- 25 Vanilla Beans
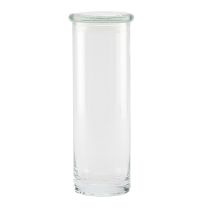
- 1 Large Glass Jar
- Vodka or Rum (At least 70 proof)
For this recipe, we recommend Madgascar Vanilla Beans as our Tahitian Vanilla beans are already plumped, naturally! You'll need a large glass jar that is at least 12 inches tall, with a lid. We recommend our Vanilla Bean Storage Jars, which are perfect for this technique. The alcohol placed in the storage jar acts as both a preservative and flavor fixture.
Directions:
Step 1:
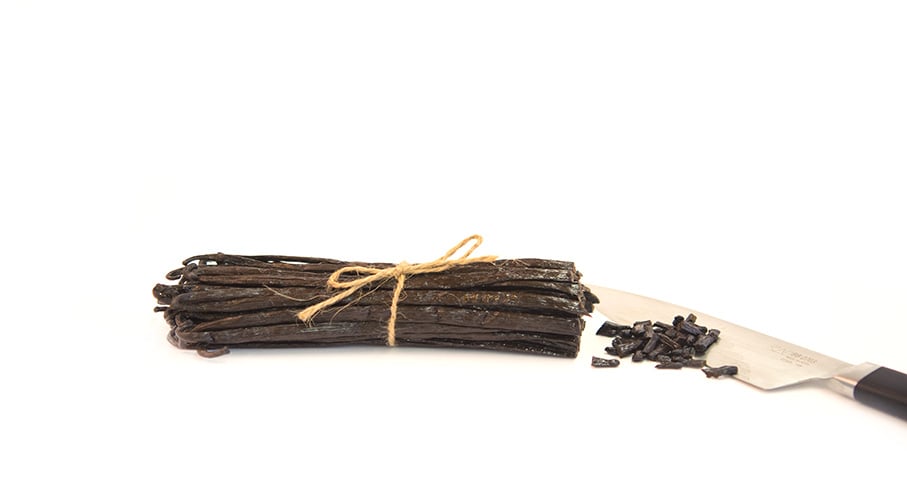
Cut 1/8-inch off the bottom end of each vanilla bean.
Step 2:
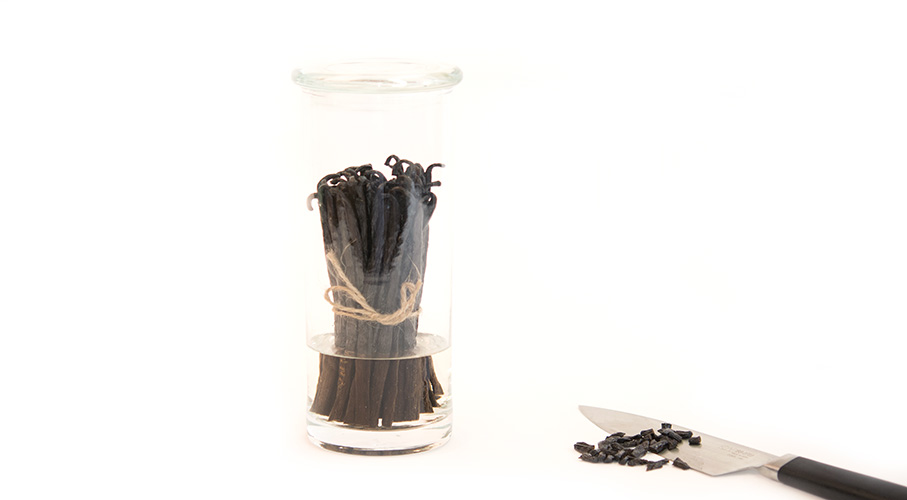
Stand beans, cut ends down, in a large glass jar at least 12 inches tall; add 2 inches of vodka or rum to the vanilla bean storage jar. Place the lid on the jar and let stand until beans are softened, at least 2 weeks. There is no need to turn or agitate the vanilla beans, just let them stand upright in the small amount of alcohol.
Step 3:
Remove vanilla beans from the jar as needed. You can substitute an equal amount of plumped beans to unsoaked beans called for in your recipe. Simply hold the bean over the mixture you are creating, cut end down. Gently squeeze the top of the bean and run your pointer finger and thumb down to the cut end of the bean to easily extrude the vanilla bean seeds. If the recipe calls for less than a whole vanilla bean, simply return the unused portion to the jar.
The beans will last for up to 6 months in a cool dark place with the lid on; after six months the beans may get too soft. The alcohol will absorb some of the vanilla flavor but is nowhere near as strong as vanilla extract.
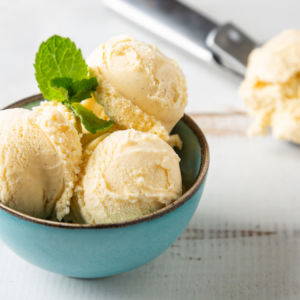
Wondering what to do with those gorgeous plumped vanilla beans? How about a simple vanilla bean whipped cream. Once you make your own rich and creamy vanilla whipped cream you will never go back to the can or tub!
Vanilla Bean Whipped Cream Recipe
Yields 1 cup
Ingredients:
- 1/2 pint heavy whipping cream
- 1 tbsp. vanilla sugar
- 1 plumped vanilla bean
Directions:
Place the cold whipping cream into a very clean bowl of a stand mixer fitted with a whisk attachment (you can also use a hand mixer or beat it by hand with a whisk). Beat on medium high, slowly add the sugar and squeeze in the vanilla bean caviar using the method described above. Beat until soft peaks form. Refrigerate until ready to use or serve immediately. Serve with fresh fruit, scoop on top of those beautiful fall desserts or top your favorite hot chocolate!
Related Products
 Sale
Sale
Search Recipes
Categories
-
Recipes
- » Vanilla Recipes
- » Delicious Chocolate Recipes for Every Occasion
- » Beverages, Drinks & Cocktails
- » Parfaits & Trifles
- » Cookies
- » Cheesecake
- » Candy, Snacks & Treats
- » Breakfast & Brunch
- » Cupcakes
- » Cakes
- » Brownies & Bars
- » Breads & Muffins
- » Savory Recipes
- » Ice Cream & Frozen Desserts
- » Mini Desserts
- » Pies
- » Seasonal Baking Recipes
- » Pastries & Tarts
- » Cobblers, Crisps & Crumbles
- » Fruits, Compotes & Jams
- » Puddings, Custards & Creams
- » Sweet Sauces & Caramel
- » Essential Baking Ingredients for Home Bakers
- » Pumpkin
- » Frostings & Fillings
- » Donut Recipes
- Vanilla Market Reports
Recent Posts


Homemade Vanilla

Share your thoughts, leave a comment